In today’s fast-paced business environment, aligning your sales and finance teams is more critical than ever. With the right tools and technology, you can ensure that these crucial parts of your business are not just aligned but also highly productive. This is where Breadwinner comes in, offering a seamless integration between Xero and Salesforce, two of the most powerful platforms in their respective domains. NetEngine, a software development house known for bringing digital visions to life, is here to guide you through integrating Xero and Salesforce using Breadwinner.

Why Choose Breadwinner?

Breadwinner is not just another integration tool. It’s a comprehensive solution designed to connect your sales data from Salesforce with your financial data in Xero. This connection provides monumental gains in workflow automation without the monumental task typically associated with such integrations. Breadwinner’s robust automation tools are built with flexibility, security, efficacy, and ease-of-use in mind.

Whether you’re an admin, a power user, a consultant, or a developer, Breadwinner’s automation solutions are designed for all user experience levels. This inclusivity ensures that integrating Xero and Salesforce is not a time-consuming or costly endeavour, adding value to your business in hours or days, rather than weeks or months.

The Breadwinner Advantage

Streamlined Workflows

With Breadwinner, repetitive and tedious tasks that consume your teams’ time become a thing of the past. The integration allows sales and finance teams to access and edit Xero contact details directly within Salesforce. This two-way sync ensures any changes made are automatically reflected in Xero, eliminating the need to switch between multiple platforms for simple data entry tasks.

Quick and Secure Integration

Implementing Breadwinner is a breeze. Its out-of-the-box functionality means you can unlock the benefits of integration without hours of setup. Secure operations are a priority, with features like Read-Only mode and user permissions sets ensuring data integrity and security.

Real-Time Data for Informed Decisions

The real-time mirroring of data between Salesforce and Xero can significantly enhance your revenue growth. Access to up-to-date financial and sales data empowers team members to make informed decisions, thereby increasing revenue and transforming your organisation’s productivity.

Purpose-Built for Efficiency

While iPaaS platforms may offer a wide range of integrations, they often overlook the specific needs of each application, leading to frustration and inefficiency. Breadwinner’s purpose-built solution for Xero and Salesforce integration addresses this issue, providing a streamlined and efficient experience without the need for technical expertise.

Key Benefits and Outcomes

  • Improved Productivity: Save valuable staff time by eliminating double data entry and allowing team members to edit client contact details directly from Salesforce.
  • Accelerated Sales Cycle: Create Xero invoices directly from Salesforce, speeding up the time-to-payment.
  • Increased Accuracy: Access critical data in real-time and pre-populate fields in your Xero invoices from Salesforce, ensuring accuracy and efficiency.
  • Enhanced Tracking: Track invoice status within Salesforce, making it easier and faster to manage payment collections.

A Success Story: Scout Talent

Scout Talent, a client of NetEngine, has successfully utilised the integration of Xero and Salesforce via Breadwinner, aligning their sales and finance data seamlessly. This integration has empowered them to streamline their business processes, enhance productivity, and ultimately, drive growth.

Integrating Xero and Salesforce using Breadwinner offers a myriad of benefits, from improving productivity to enhancing decision-making with real-time data access. It’s a testament to the possibilities when sales and finance teams are perfectly in sync, facilitated by the right technology.

For an in-depth understanding and specifics on how Breadwinner achieves this seamless integration, please refer to the detailed information provided on their website at Breadwinner’s Xero Salesforce Integration.

Introduction:

Embarking on the journey to build a digital project in 2024 is an exciting venture, but you need to know what to look for in a developer. First things first, if you haven’t already, read our blog on ‘what you should consider before you start developing’. In that blog post, we explain the importance of market research, understanding your unique selling proposition, and what different developers can do.

Now that you have the groundwork you can get into the really fun stuff, finding a developer to bring your project to life. In this blog we’ll go over three things you should look for in your development partner – if they don’t have all three of these, keep looking!

Research: Tailoring solutions to your vision

Before diving into the development process, take a moment to find a partner that truly understands your unique needs. Whether you’re a startup with innovative ideas or an established corporate entity with a vision for growth, the emphasis is on finding a collaborator that aligns with your goals. Assess the fit between your vision and their capabilities, setting the foundation for a successful partnership that revolves around your aspirations.

If you’re looking for a local development partner you can meet face-to-face, NetEngine is a fantastic choice. We’re an Australian based team who value transparency and clarity on every project, and there’s no better way to achieve that, than being able to chat in person at our office. The NetEngine team love visiting clients Australia wide. Communication is critical to your project’s success and nothing beats being able to meet in person to discuss fixes, new ideas, or changes.

Team Members: Know the skills you’ll have access to

When looking for a development partner, make sure you ask them who you will access to. Your development team should consist of the following members, a Project Manager, who will spearhead your project and be your liaison throughout your development journey. Front end and back end developers, or a full stack developer with skills in both areas. This way you know the look and feel of your project has a dedicated team member on the front end, while the back end has someone who takes care of the site’s structure, system, date and logic. Full stack developers are skilled in both areas so if your choice of developer has them, then that’s a plus as well. You need to know if there is a UI/UX designer available as well. The UI/UX designer creates the user interface for your project, they understand user needs, and can help keep your interface in line with your brand needs.

Here at NetEngine the team comprises all of the above. With over 16 years of experience in work tech development. They are a highly skilled and experienced team that know how to listen to your goals and gain a deep understanding of your project. When you work with NetEngine you know you’re in capable hands, and have access to a team of specialists who can help bring your digital vision to life. You can watch our client case studies to get an idea of what working with NetEngine is like.

Competitive Pricing: How much does it all cost?

It’s important to understand your budget, and communicate this with your prospective developers to ensure your budget and their estate aligns. It’s crucial that you can have transparent conversations with your developer about what you can achieve with the budget you have available.

Here at NetEngine, we pride ourselves on providing cost effective development solutions. Our processes ensure we are clear with our clients about what the team can produce while staying within your budget, and our agile methodology approach to development allows us to be extremely flexible with what we prioritise working on, further helping us keep developing within budget.

Reach out to NetEngine today if you want to learn more about how we can help bring your digital vision to life.

We recently created an app for our client, Scout Talent, a talent acquisition platform provider that works to connect people to grow companies, careers, and communities. This app, called the Scout Talent App, is a mobile version of :Recruit, their premier software module. 

:Recruit is a robust candidate management and applicant tracking system that enables organisations to manage their entire talent acquisition process. Through Scout Talent :Recruit, users can post jobs, track applications, review candidates, schedule interviews and store candidate data, all in one centralised place.

Building the Scout Talent App was a significant project led by Dan Tomasic, NetEngine Frontend Team Lead. Read on to learn more about his experience working on the app.

What was the brief for this project?

Dan T: The brief was for the App to be a mobile version of :Recruit that would allow hiring managers to access candidate applications and utilise other functions of the system on the go. Having a more accessible version of :Recruit would allow clients to reduce their time to hire and drive their talent acquisition process no matter where they are.

Our priorities were to make it easy to use, in order to facilitate a simple process for hiring managers to access, review and process candidate applications. We also had to consider app functionalities such as receiving notifications, to allow hiring managers–who are already so busy during the day–to view updates quickly and maximise their productivity.

The scope of the project was for the App to have the same complex functionality of the :Recruit module and work smoothly across both Android and Apple operating systems. 

What work did you do on this project?

DT: To start this project, we ran some workshops involving key stakeholders from NetEngine and Scout Talent; these included web developers, the CEO of Scout Talent, and :Recruit specialists who interacted with the software day in and day out. In these workshops, we discussed what we wanted the Scout Talent App to achieve, as well as what key functionalities it should have and what it should look like.

From these workshops, we split the work across our team of about 5-6 web developers working on the project. Usually, for a client project, we would do the work in sprints, but for this project, we did it in milestones – for example, we marked the project with major milestones such as full login flow created or video viewing functionality enabled.

We built the App in React Native, a coding framework that allowed us to simultaneously develop the App for both Android and Apple. Using this framework made the development process more efficient and allowed us to test and create fixes across both versions more easily.

In terms of UX/UI, the brief was for the Scout Talent App design to be consistent with :Recruit. The desktop :Recruit module is currently undergoing UX/UI updates, so the App was designed with that in mind, meaning the look and feel of it aligns with the new UX/UI of :Recruit. Essentially, the idea was that the transition from the desktop module to the App should be seamless for the user.

What were some challenges you encountered and how did you overcome them?

DT: The biggest challenge in creating this App was to make sure it ran quickly and was simple to use for hiring managers. The way we overcame both these challenges was to ensure we performed lots of tests, and put in a lot of consideration for the UX/UI.

We did a test at the end of each major milestone (which usually marked the completion of a major feature) using dummy data; these tests were done with internal stakeholders at Scout Talent, mainly people who used :Recruit frequently and are familiar with how it should work.

These tests checked that the new features of each milestone worked correctly, and that the App as a whole worked smoothly. As is typical with app development, challenges arose from these tests; for example, we had to ensure that the App supported specific older versions of Android. To make sure the App worked across so many versions of operating systems, we had to take our time, checking that we didn’t break the versions that did work by fixing the ones that didn’t. 

In terms of UX/UI, the only real challenge was time. Our UX/UI designer had lots of great ideas, but we had to consider what was viable within the project timelines. We had to consolidate all these ideas down to what was necessary for the App before it went to market, in order for us to get it done within the timeline.

What was your favourite part of working on this project?

DT: The best thing about this project was that it was quite a unique one to work on. Building the App completely from scratch with close input from the Scout Talent team was something I hadn’t done before. Being able to drive the project from an idea to what it is now, a fully-fledged App, was a lot of fun. 

Our team really enjoyed having influence over the look and feel of the App, and feeling ownership over the project. Overall, it was satisfying to see a final product that fulfilled the requirements set out in the brief.

What was the outcome?

DT: The outcome was that we created what the brief set out: the Scout Talent App available today is a mobile version of :Recruit that allows hiring managers to have oversight of their talent acquisition process no matter where they are. 

Between the start of the project and its completion, our initial ideas and designs definitely changed. App development is always an agile process. Similar to other projects, we found along the way that certain workflows didn’t quite make sense to the plan anymore, so we had to pivot to keep the App in line with our objectives.

Along the way, we also came up with extra functionalities and features that would enhance the user experience and achieve Scout Talent’s goal for the App to help connect people to grow companies, careers and communities. One example is that we included animations in the cards that appear when users are swiping through applicants; it’s a small addition, but one that enhances the interactivity and experience for the user.

All in all, the Scout Talent App we rolled out aligned closely with the initial project brief and scope – it was functional for both Android and Apple devices, and included all the key features of :Recruit, as well as additional mobile features, like push notifications.

Want to create your own app?

If reading about the Scout Talent App has inspired an app idea for your organisation, or if you have a digital vision you’d like to bring to life, get in touch with us here.

Imagine this: you’re heading to the beach to spend a day with your friends. You’ll be spending time swimming, throwing a ball, and enjoying a few drinks. Before you get to do that, though, you need to scour the area nearby to find somewhere to park your car and feed the parking meter. But you’re not going to the beach to park your car and feed the meter, are you? Believe it or not, this example highlights the difference between digital service and digital experience

Many organisations mistakenly bundle together all online customer interactions under the “experience” banner, when in reality, there should be a clear split. Digital service refers to all aspects of your digital process that are forgettable and expected. They should be simple, fast, and functional (like parking your car and feeding the meter). Digital experience refers to the memorable parts of your digital process that exist to build customer loyalty and should be enjoyable for your users (like the fun beach activities). Both digital service and digital experience work in harmony to create what is known as Customer Experience, or CX

The importance of CX

CX is the term for all contact a customer has with your brand, from the first touch and browsing your offerings, to making their first purchase, to post-purchase communications. It’s a long journey, and when you put it all together, managing this journey is no small feat.

As organisations start to see CX as a high priority, the term ‘experience’ has become a blanket term to describe every function of the business, no matter how miniscule. Organisations often use the term ‘experience’ to measure how a user feels when they interact with their brand. The problem with this is that not every step of a user’s journey is supposed to make them feel something. Some parts of the journey (the services) are purely functional, and exist to take them from point A to point B. 

Examples of digital service

It’s often tricky to make necessary processes fun or exciting, but in recent years, many organisations have tried to transform how they deliver their digital service. While part of this transformation comes from understanding the difference between digital service and digital experience, a larger transformation depends on splitting digital services into informational and transactional. 

  • Informational: What is the point of your digital service? Is it to provide an end user with information about your product or offering, such as a landing page on your website? How about a service that directs them to the correct page or connects them with immediate help, such as a chat bot? If so, this service is probably informational.
  • Transactional: Does the service you offer help a user complete a payment or transfer, like a secure payment portal? What about a streamlined service that lets a client book directly into a team member’s diary by clicking ‘Make an Appointment’? In that case, the service is transactional. 

Regardless of how your digital service is categorised, it can often compliment your organisation’s overall CX. People don’t often remember when a digital service works well, but they do remember when it works badly. Making your digital service function as quickly, easily and seamlessly as possible creates a better customer experience overall. And customers who enjoy using your mobile or web app are inclined to use it more often. 

Ultimately, adopting a holistic approach to CX is a smart move to drive business objectives. It creates a positive brand impression and increases the chance of repeat business when you audit your web or mobile app’s digital experience and digital service with the overall CX in mind. Seamless, enjoyable digital experiences keep customers coming back for more.

Codeschool.com.au

I was shown a really interesting article a few weeks ago explaining how to do ‘quantity queries’ (think of them like media queries but based on how much content you have) using last, first and nth child pseudo-classes.

Some pretty cool uses of using pseudo-classes in order to style your layout include, the the ability to change your navigation’s styling based on how many items it has. This would be super useful to anyone that makes websites for clients to edit with a CMS. Lets say you have a traditional nav bar, but don’t want there to ever be more than four items in it because it would line break. nth child would give you the option to say if there is more than four items, hide the nav behind a ‘show navigation’ button.

Another cool use of nth and last child selectors are what I’m writing about today, making a cool flexbox style responsive grid.

Why not just use flexbox?

CSS3 selectors work more consistently across a wider selection of browsers.


You can see the grid in action above, or see a finished product on codeschool.com.au , the size of the last child always scales to fill any extra space. We also use an nth-child grid for the template previews in outfit using the same technique covered in the article I linked earlier.

First child things first.

I’m sure everyone reading this knows what :last-child and :first-child are, but for the sake of the less experienced with css selectors, I’ll go over it.

:first-child is a pseudo-class that targets the first child of its parent.

For example:

li:first-child {
  color:#06a8f9;
}

<div>
  <li> first child </li>
  <li> list item </li>
  <li> list item </li>
  <li> list item </li>
  <li> last child </li>
</div>

would produce

  • first child
  • list item
  • list item
  • list item
  • last child

because the first <li> is the first one in the parent div.
Alternatively, using :last-child would have a similar effect.

  • first child
  • list item
  • list item
  • list item
  • last child


### Now that thats out of the way, onto the nth child.

Similar to first and last child selectors :nth-child is a way to select every element that matches the value of ‘n’.

For example, :nth-child(2) would select the second child of the parent element.

li:nth-child(2) {
color:#06a8f9;
}

  • first child
  • list item
  • list item
  • list item
  • last child

Because we can use formulas as the ‘n’ value, instead of targeting just the second child, we can change (2) to (2n) and target every second child like this:

li:nth-child(2n) {
  color:#06a8f9;
}
  • first child
  • list item
  • list item
  • list item
  • last child

If we combine this with :last-child we can target every second child but only if it is the last child of its parent.

  • first child
  • list item
  • list item
  • list item
  • last child

As you can see, none of the children we were targeting were the last child of its parent, so none of them are affected. If we removed one of the items so a multiple of two was the last child of its parent you would see that child being targeted by our css.

  • first child
  • list item
  • list item
  • list item

This is how our grid layout will work. We will use code like this to apply specific css to the last child based on how many children the parent has.

Here’s an example of our css

/* if the last child is a multiple of two */

.li:nth-child(2n):last-child {
  color:#06a8f9;
}


/* if the last child is the one after a multiple of two */

.li:nth-child(2n+1):last-child {
  color:green;
}
  • first child
  • list item
  • first child
  • list item
  • list item
  • first child
  • list item
  • list item
  • list item

Our grid will work exactly like this, but it will change the width of the last child instead of the color.


Ok, Lets get started.

I’m going to start out by creating three divs inside a parent div. and setting each of their widths to 33.33%.
All of the examples are hosted on codepen so you can have a look/play around with the

See the Pen LEKxqZ by John Morris (@Johnm__) on CodePen.

Now onto the magic stuff.

If I added another div right now, it would stack under the three divs and would only be 33% wide, leaving a big awkward 66% wide white space on the right of it.

Because our grid is 3 children wide and we wan’t to target the last child if its one after the last group of three, I’m going to use
:nth-child(3n+1):last-child to target that div and set its width to 100%

See the Pen EaBZmB by John Morris (@Johnm__) on CodePen.

Im going to do the same thing but change 3n+1
to 3n+2 to target the last child if there were two children after the last 3n and set it’s width to 66%

See the Pen Example three by John Morris (@Johnm__) on CodePen.

There you have it.
A grid that is aware of how many items it has and styles its self accordingly.

The sky really is the limit with this stuff.

If you come up with another cool use of, or way to implement any nth child layouts or tricks, we would love to see it. Get in touch with us on twitter.

We recently wanted to remove an Amazon S3 bucket where 1,000,000+ files were stored. This bucket also had versioning enabled which means the actual number of files was way bigger. To give us an idea, we dump the file paths to delete: the associated output text was 500MB big.

This task which seems simple at first proved to be quite complicated to handle, mostly because of Amazon own limitations that it would be nice to see addressed.

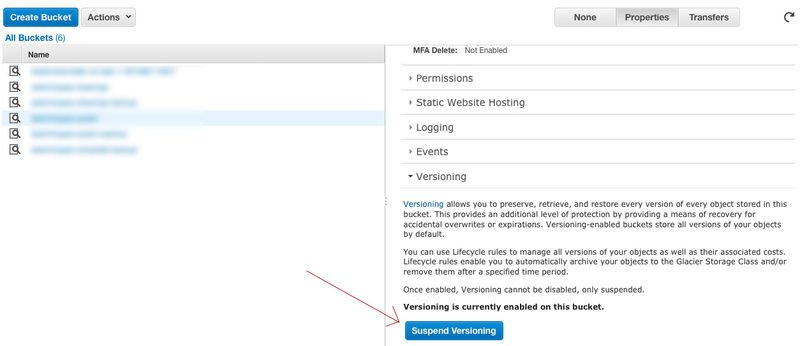
The first thing we had to do is obviously to disable versioning in the Amazon Web Services console:

Without this, not only the bucket would not be emptied but some delete markers would be added to the bucket which would make our life even harder.

The first assumption a user has when wanting to delete a S3 bucket is that clicking on Delete Bucket works. But Amazon does not allow to delete a non empty bucket.

Emptying the bucket through the Amazon Console does not work either when the bucket contains more than 10,000 files. And this is where the troubles begin: simply listing the files to delete ends up crashing the most popular S3 tools like s3cmd.

We found some really interesting scripts which are designed to delete both delete markers and all file versions on a S3 bucket. These scripts were indeed deleting the files on our S3 bucket but kept on running after four days in a row.
The main reason for this is that a query is made for each file deletion. We needed to perform some bulk delete instead.

Amazon CLI provides the capacity to delete up to 1000 files using a single HTTP request via the delete-objects command.

We engineered a ruby script which relies on this command to delete our files faster:

Pre-requisites:

To use this script you need to:

  • Export your Amazon credentials: export AWS_ACCESS_KEY_ID=... and export AWS_SECRET_ACCESS_KEY=...
  • Have the Amazon CLI installed.
  • Have a Ruby interpreter installed.
  • Download the above file and make it executable: chmod +x FILE

Usage:

Simply execute the script like any other programs with the bucket name you would like to empty as the argument.
E.g: Providing the Ruby script was called S3_bucket_cleaner.rb:

./S3_bucket_cleaner.rb BUCKET_NAME

Figures and conclusion:

The above script was able to remove all the files of our S3 bucket in less than 20 min which was good! It would be great if Amazon let people emptying / removing a S3 bucket regardless how full this one is. In the meantime, we are happy to share this script with you today in case you run into a similar scenario.

This month we started a weekly newsletter to share articles we’ve liked, apps that are making our lives easier and new developments in tech. The following is what we’ve loved in June. If you’d like to sign up to the newsletter you can do so here


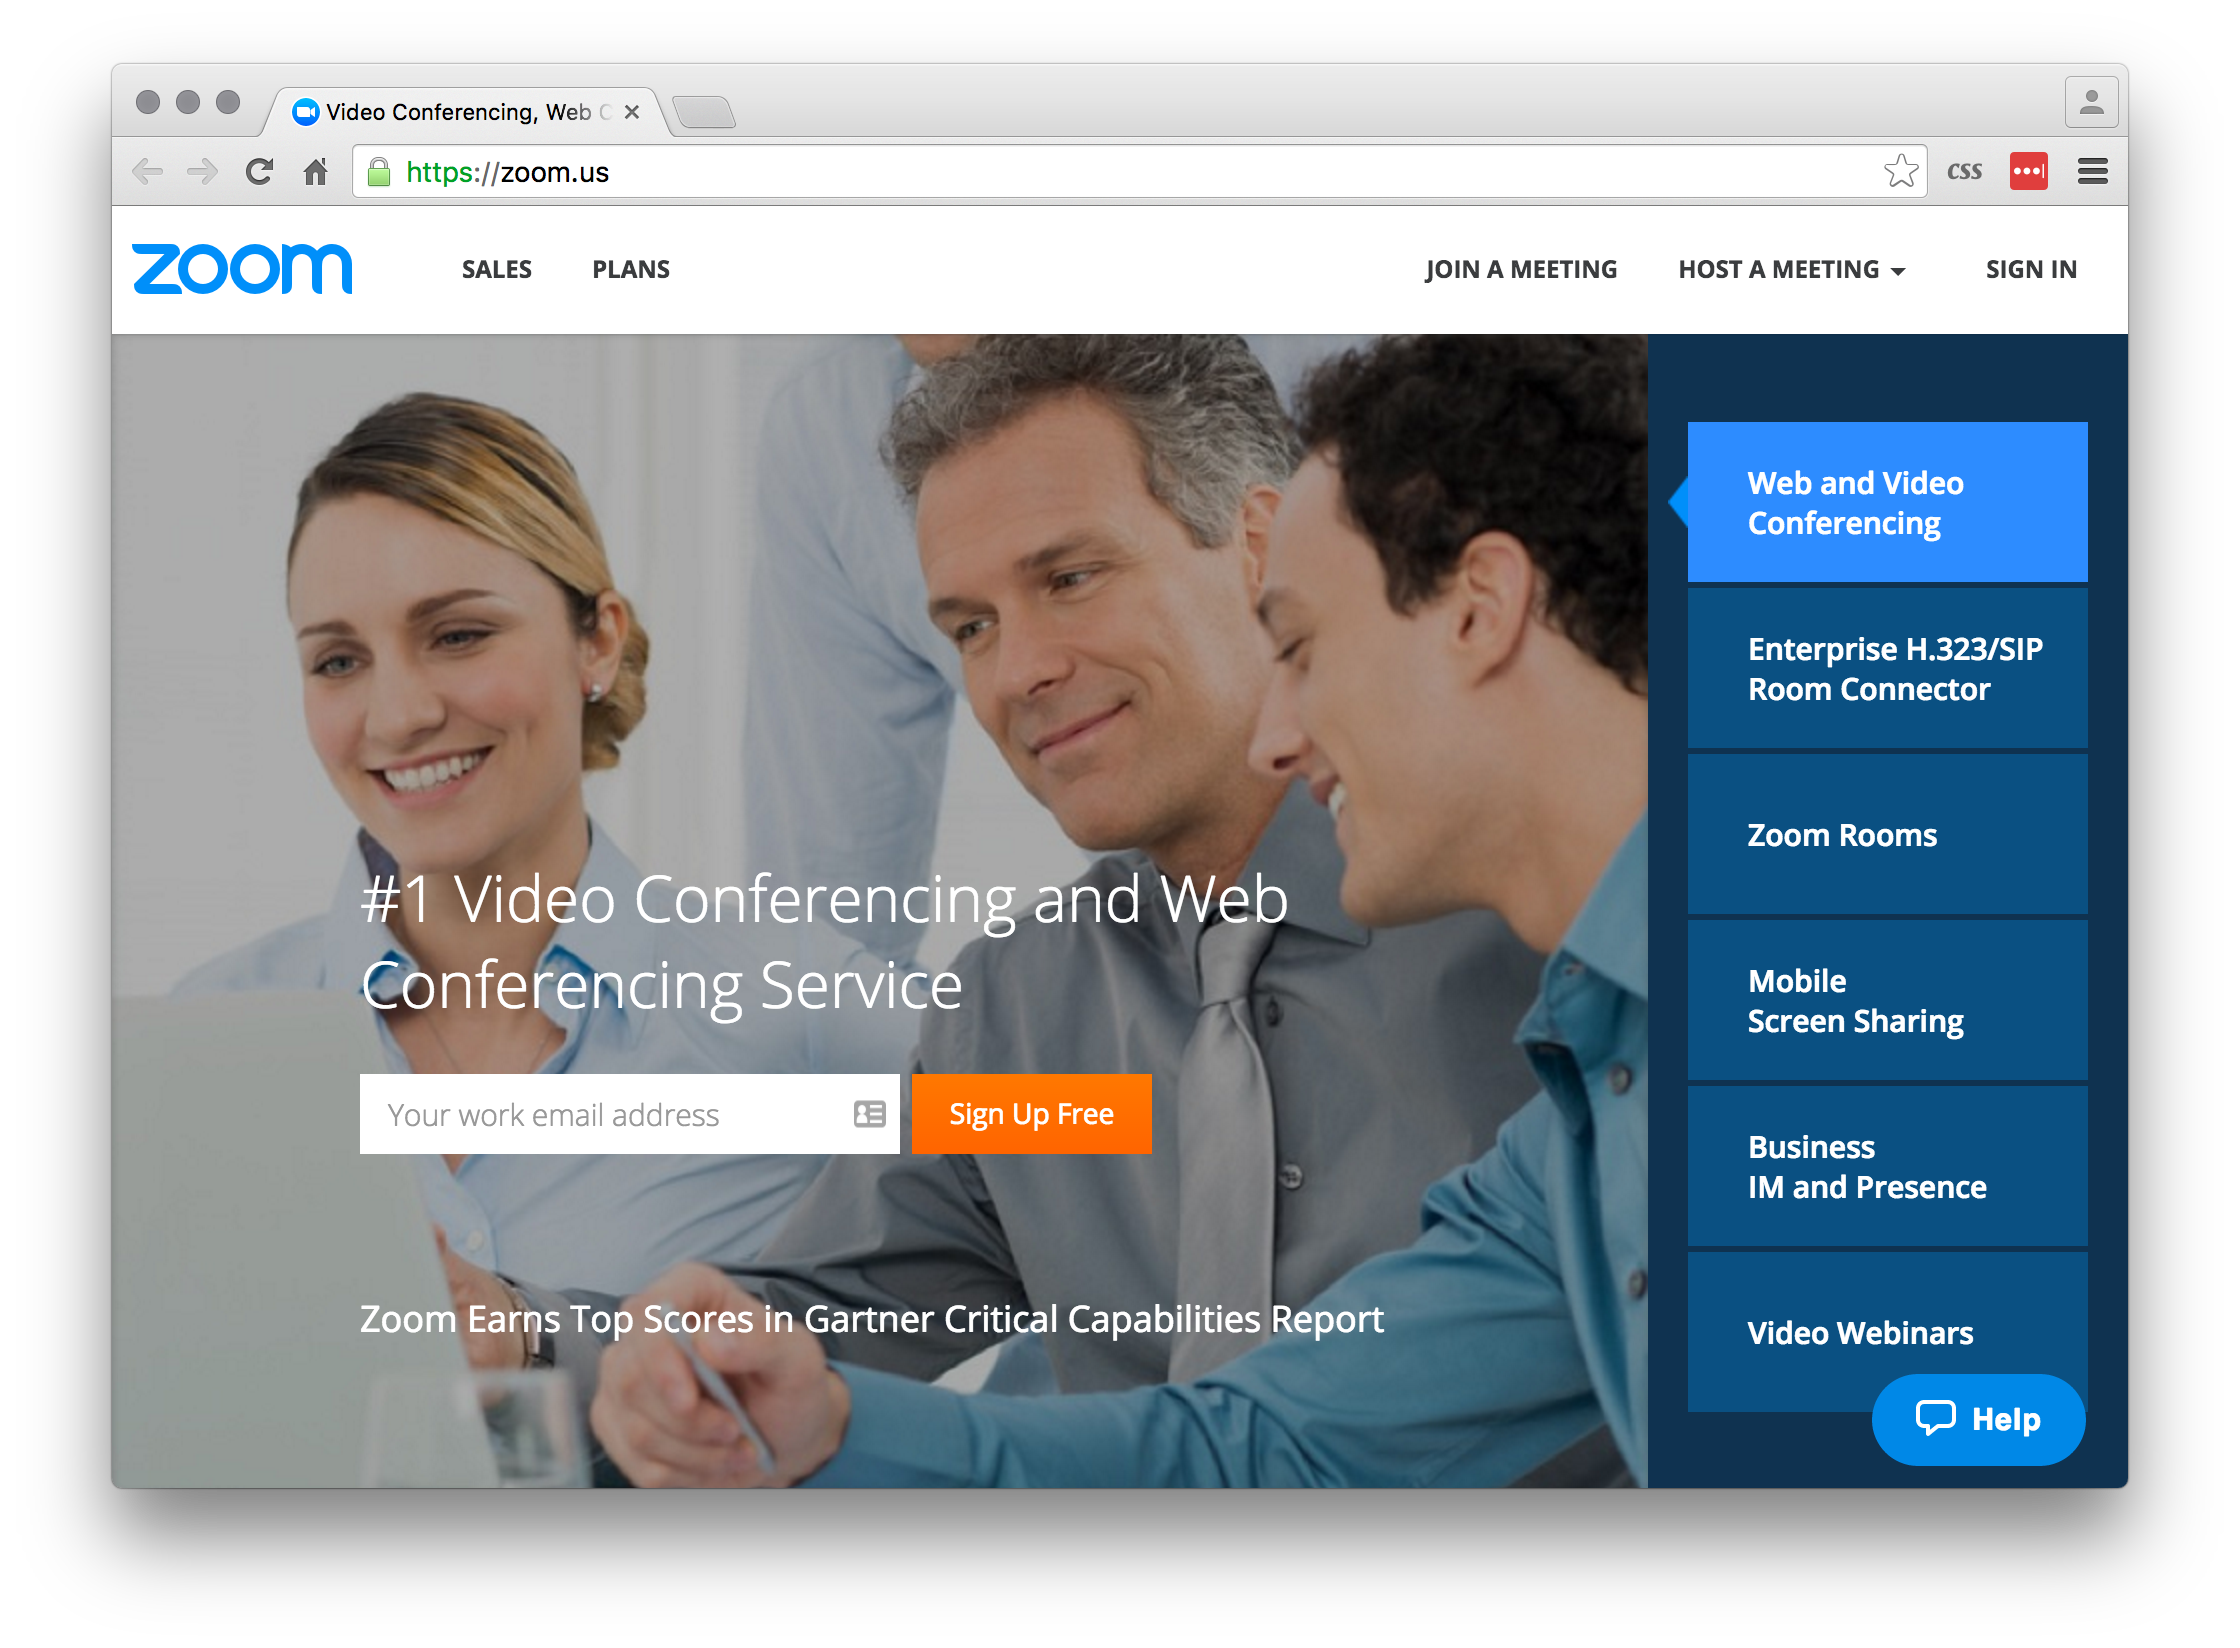
Zoom.us

zoom us

“If you have got an invite from me over the past few weeks you might notice I am now using [Zoom.us] (http://zoom.us/) for video and phone meetings. I have found that this service works far more reliably than GoToMeeting, Skype, Google Hangouts or JoinMe and I am super excited by how fast and easy it is to have meetings. There is a great free plan and I would highly recommend this service to anyone who needs to host meetings with people in multiple locations.”

Matt


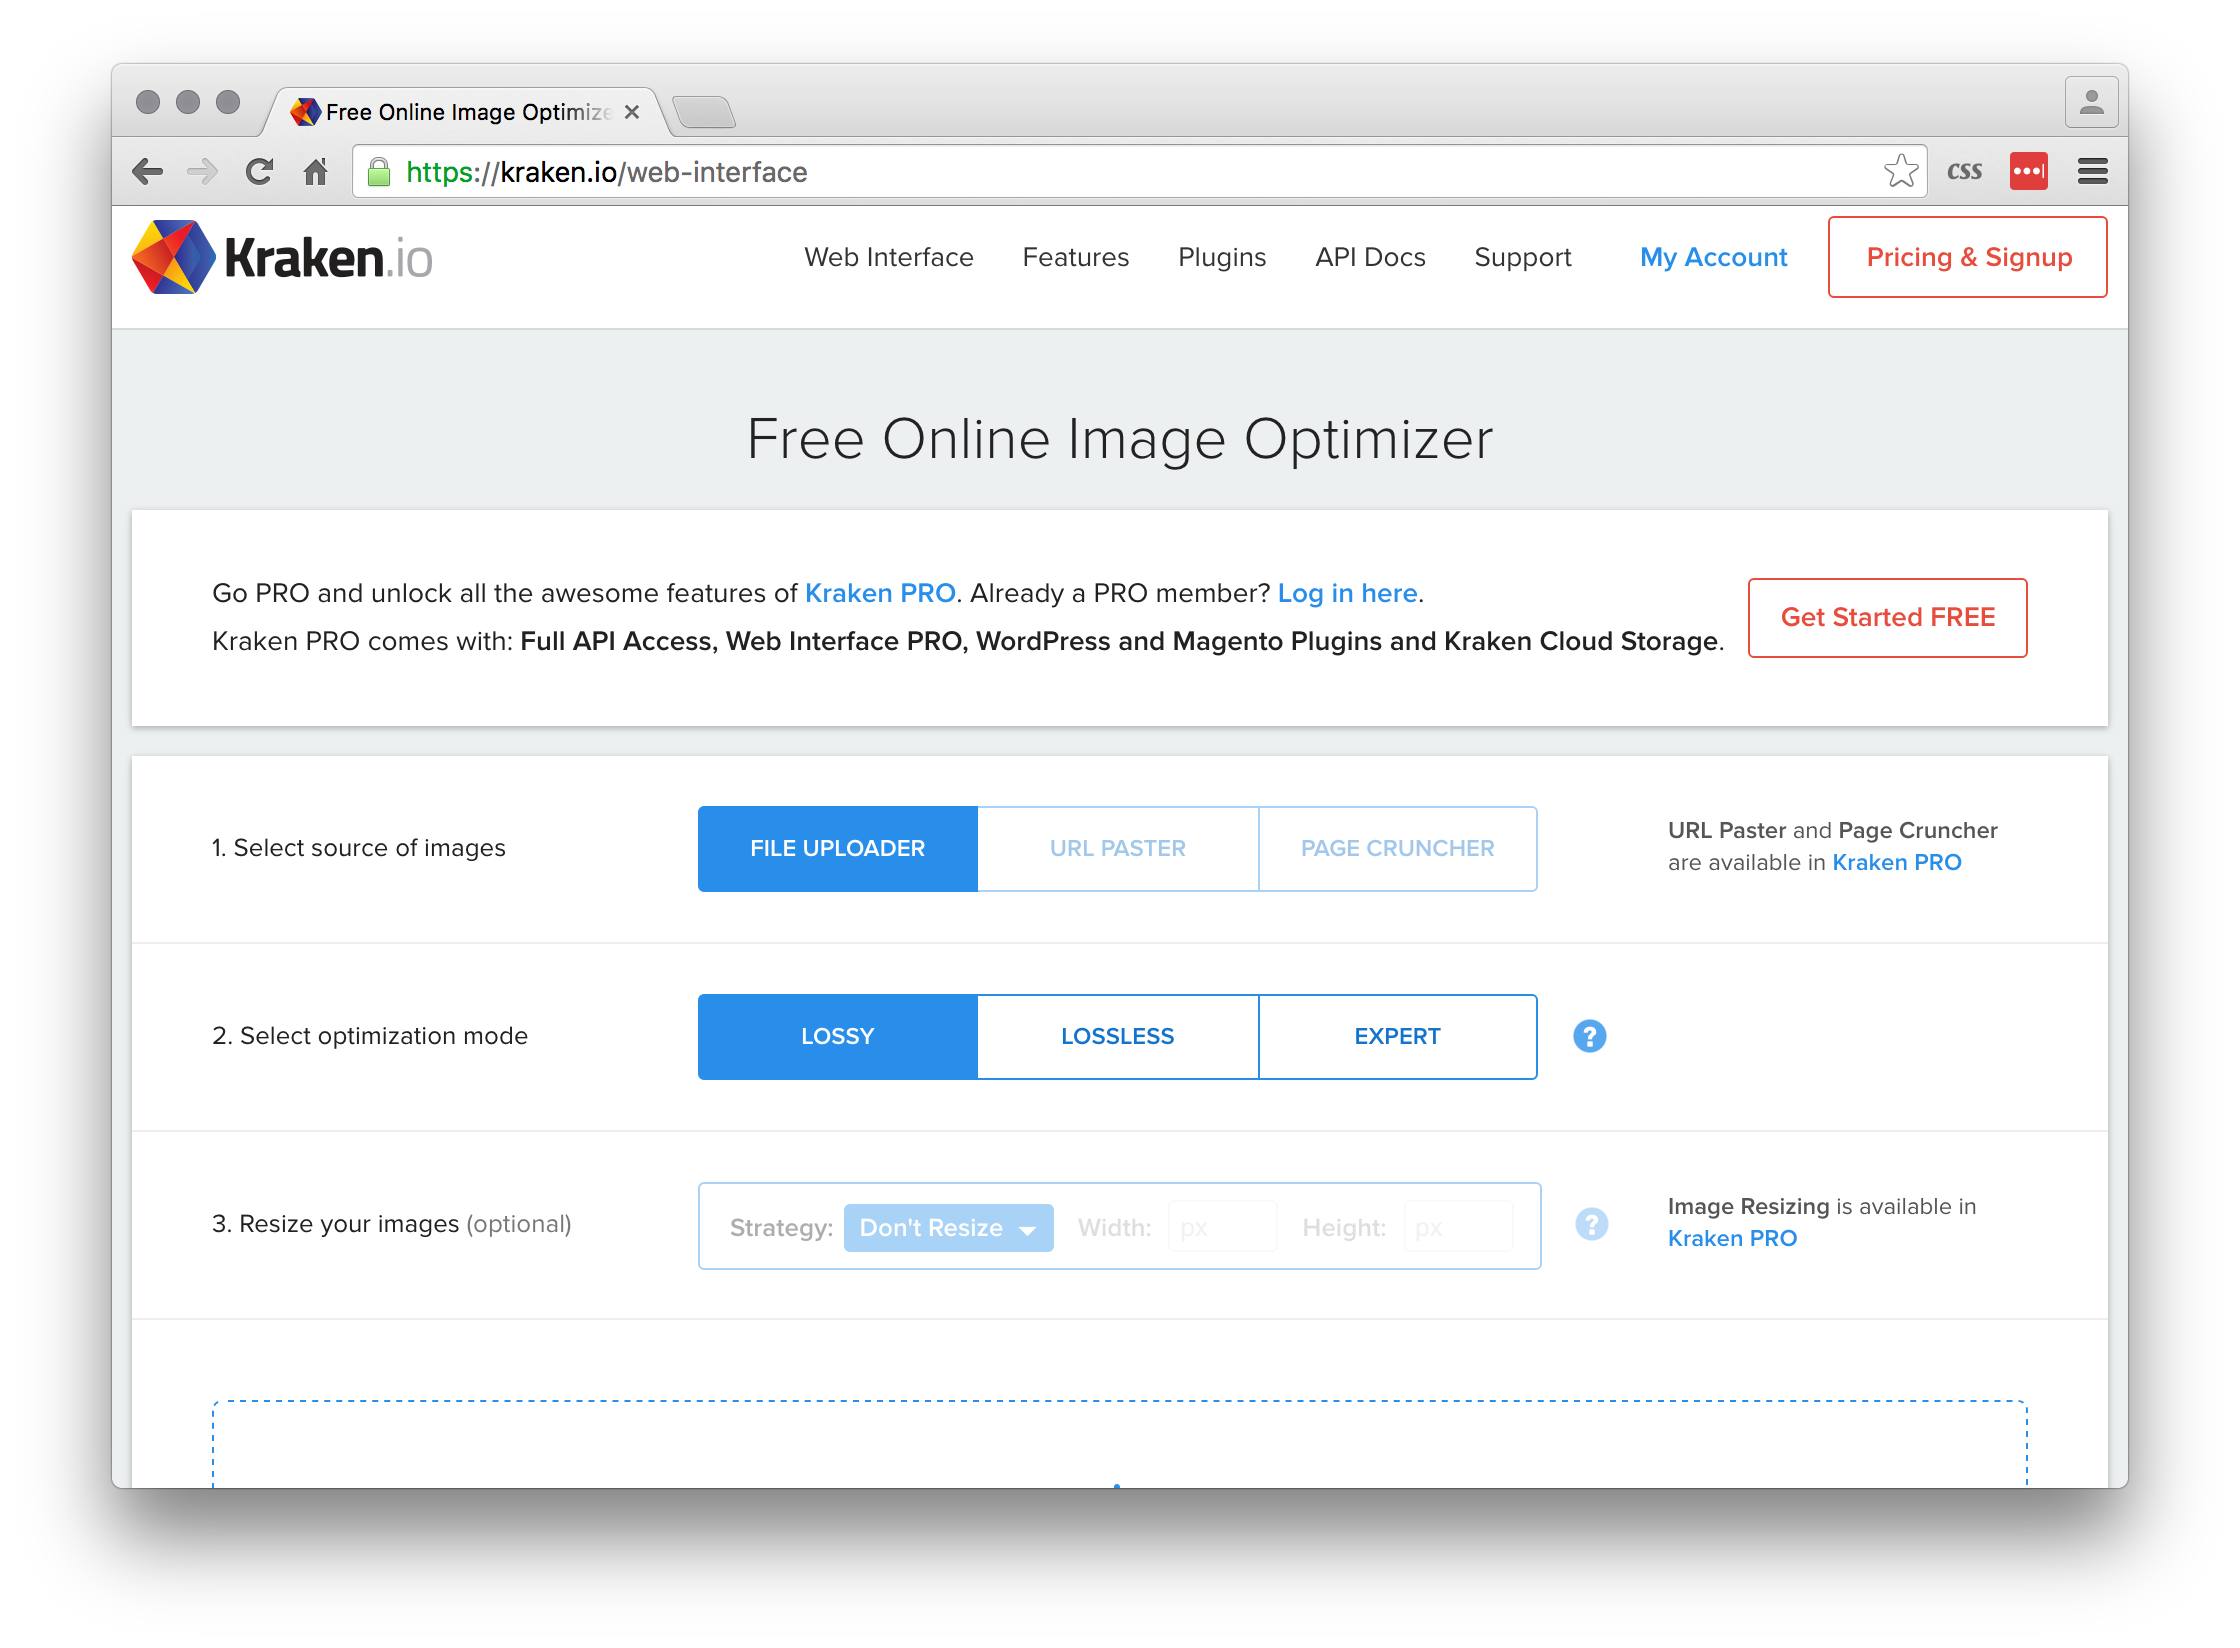
Kraken.io/web-interface

kraken io

“Many of our products already optimise the images you upload. But, if you’re creating some media rich content without a tool designed specifically for the web, you should consider [this image optimiser] (https://kraken.io/web-interface) and your images will be loaded more quickly without affecting their quality. A quick user experience is a good user experience.”

Erik


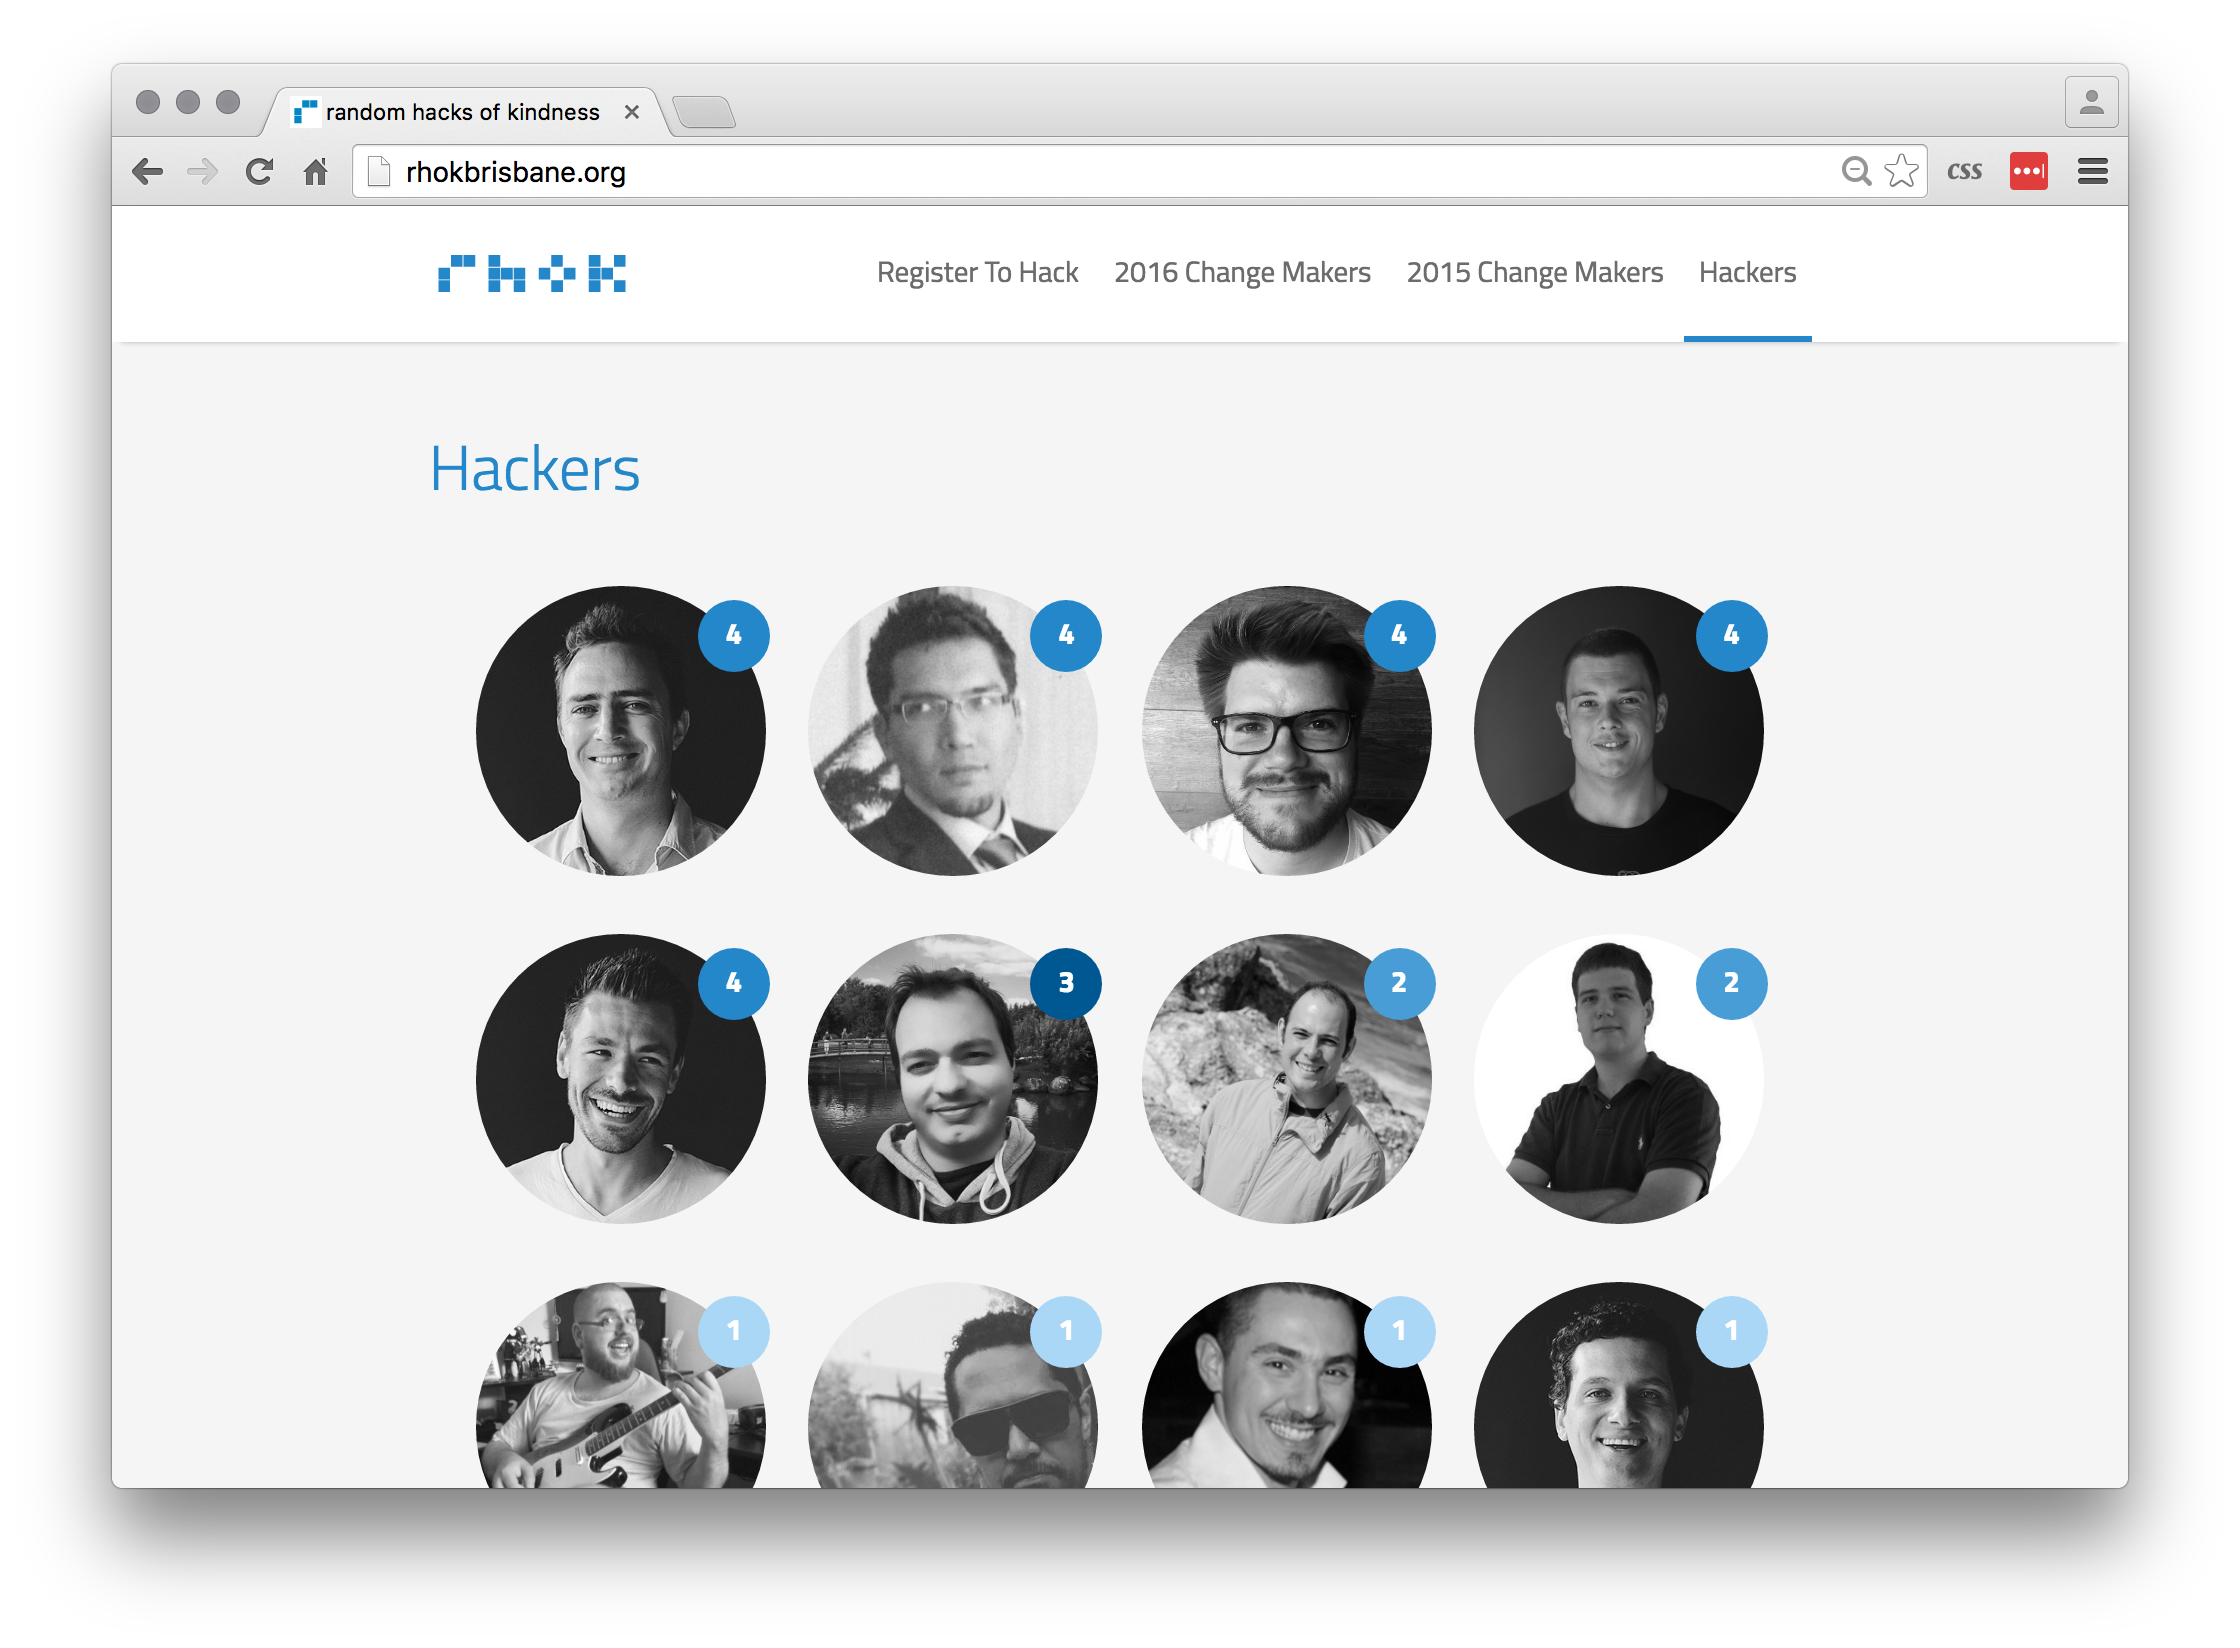
Random Hacks of Kindness

Rhok

“This weekend we are heading to QUT’s beautiful Garden’s Point for the Winter 2016 Random Hacks of Kindness, otherwise know as RHoK. RHoK is the largest and longest running social hackathon in Australia. We’ve been doing this stuff since 2011, and have one of the most vibrant, engaged technology and social change communities in the country. We work on projects that make a real difference. In the last 4 years we’ve helped over 40 charities and community groups, using technology to solve their problems and teaching many of them the principles of lean and agile development. Further details can be found here.”

Bruce


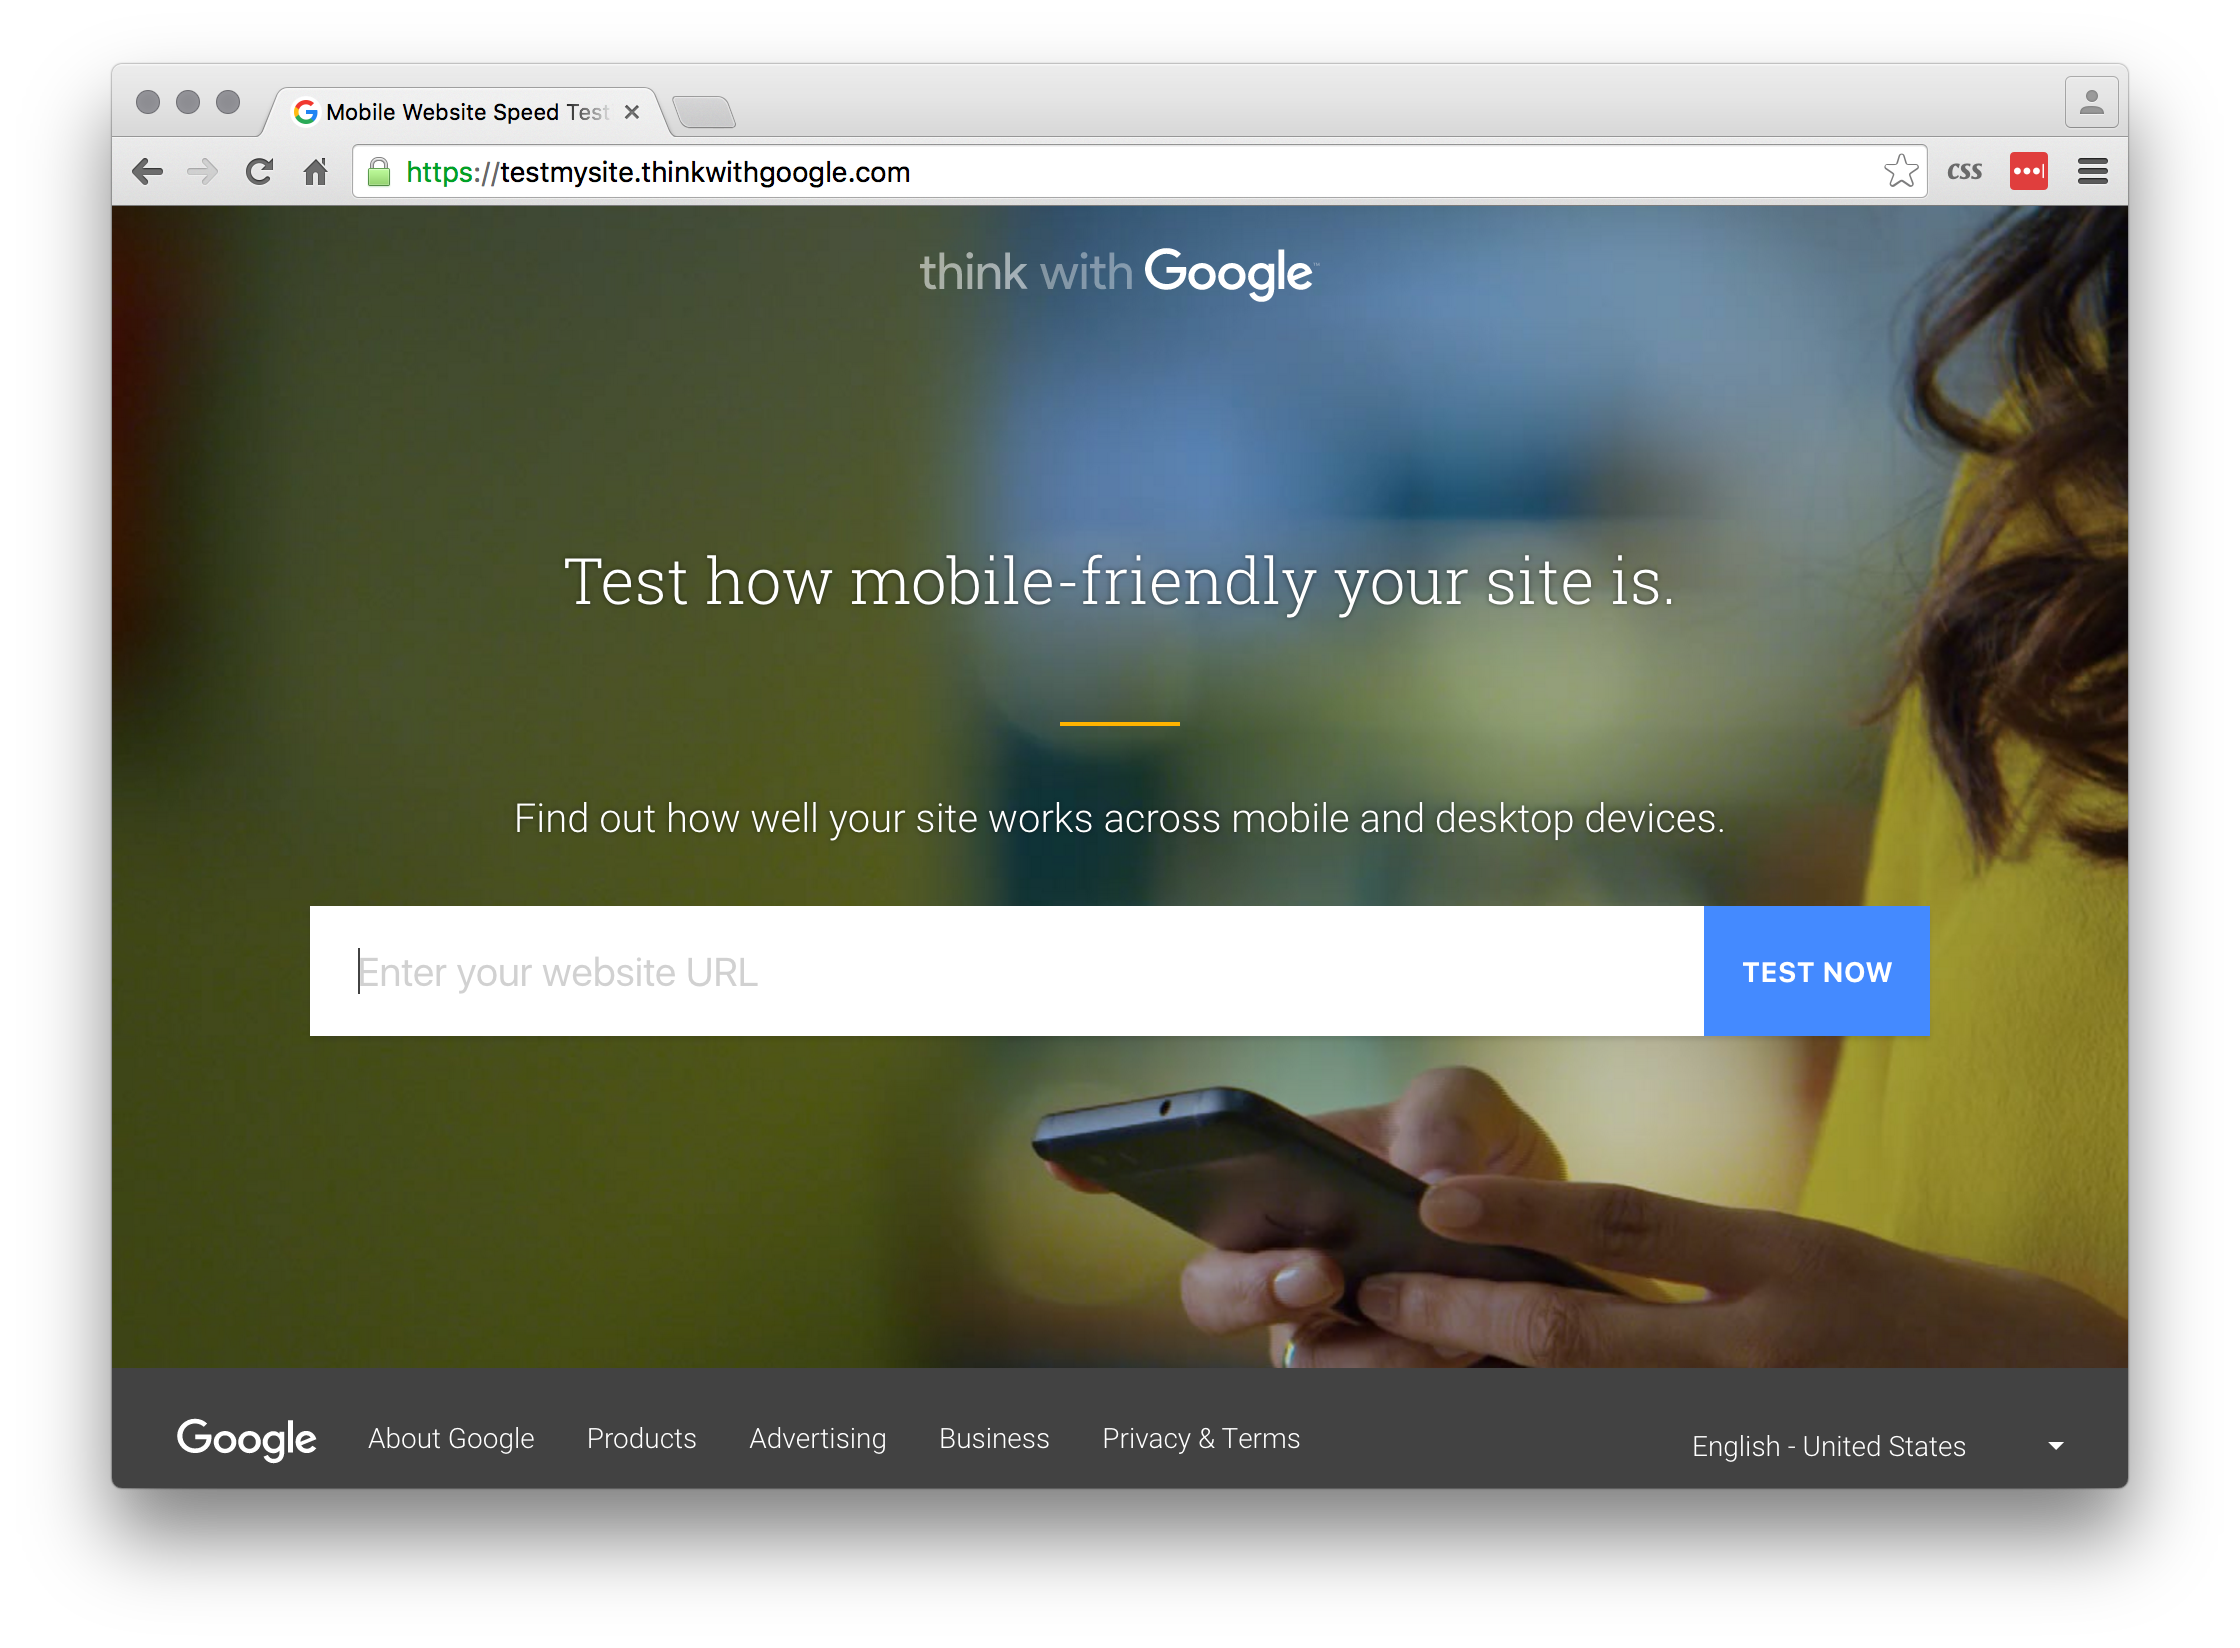
Testmysite

testmysite

“This week we’ve been testing performance on mobile using this amazing tool created by Google. In addition to your scores you also receive recommendations for improving performance across all devices. I love it because it helps us to avoid spending time trying to figure out what’s wrong in our websites/webapps.”

Lucas


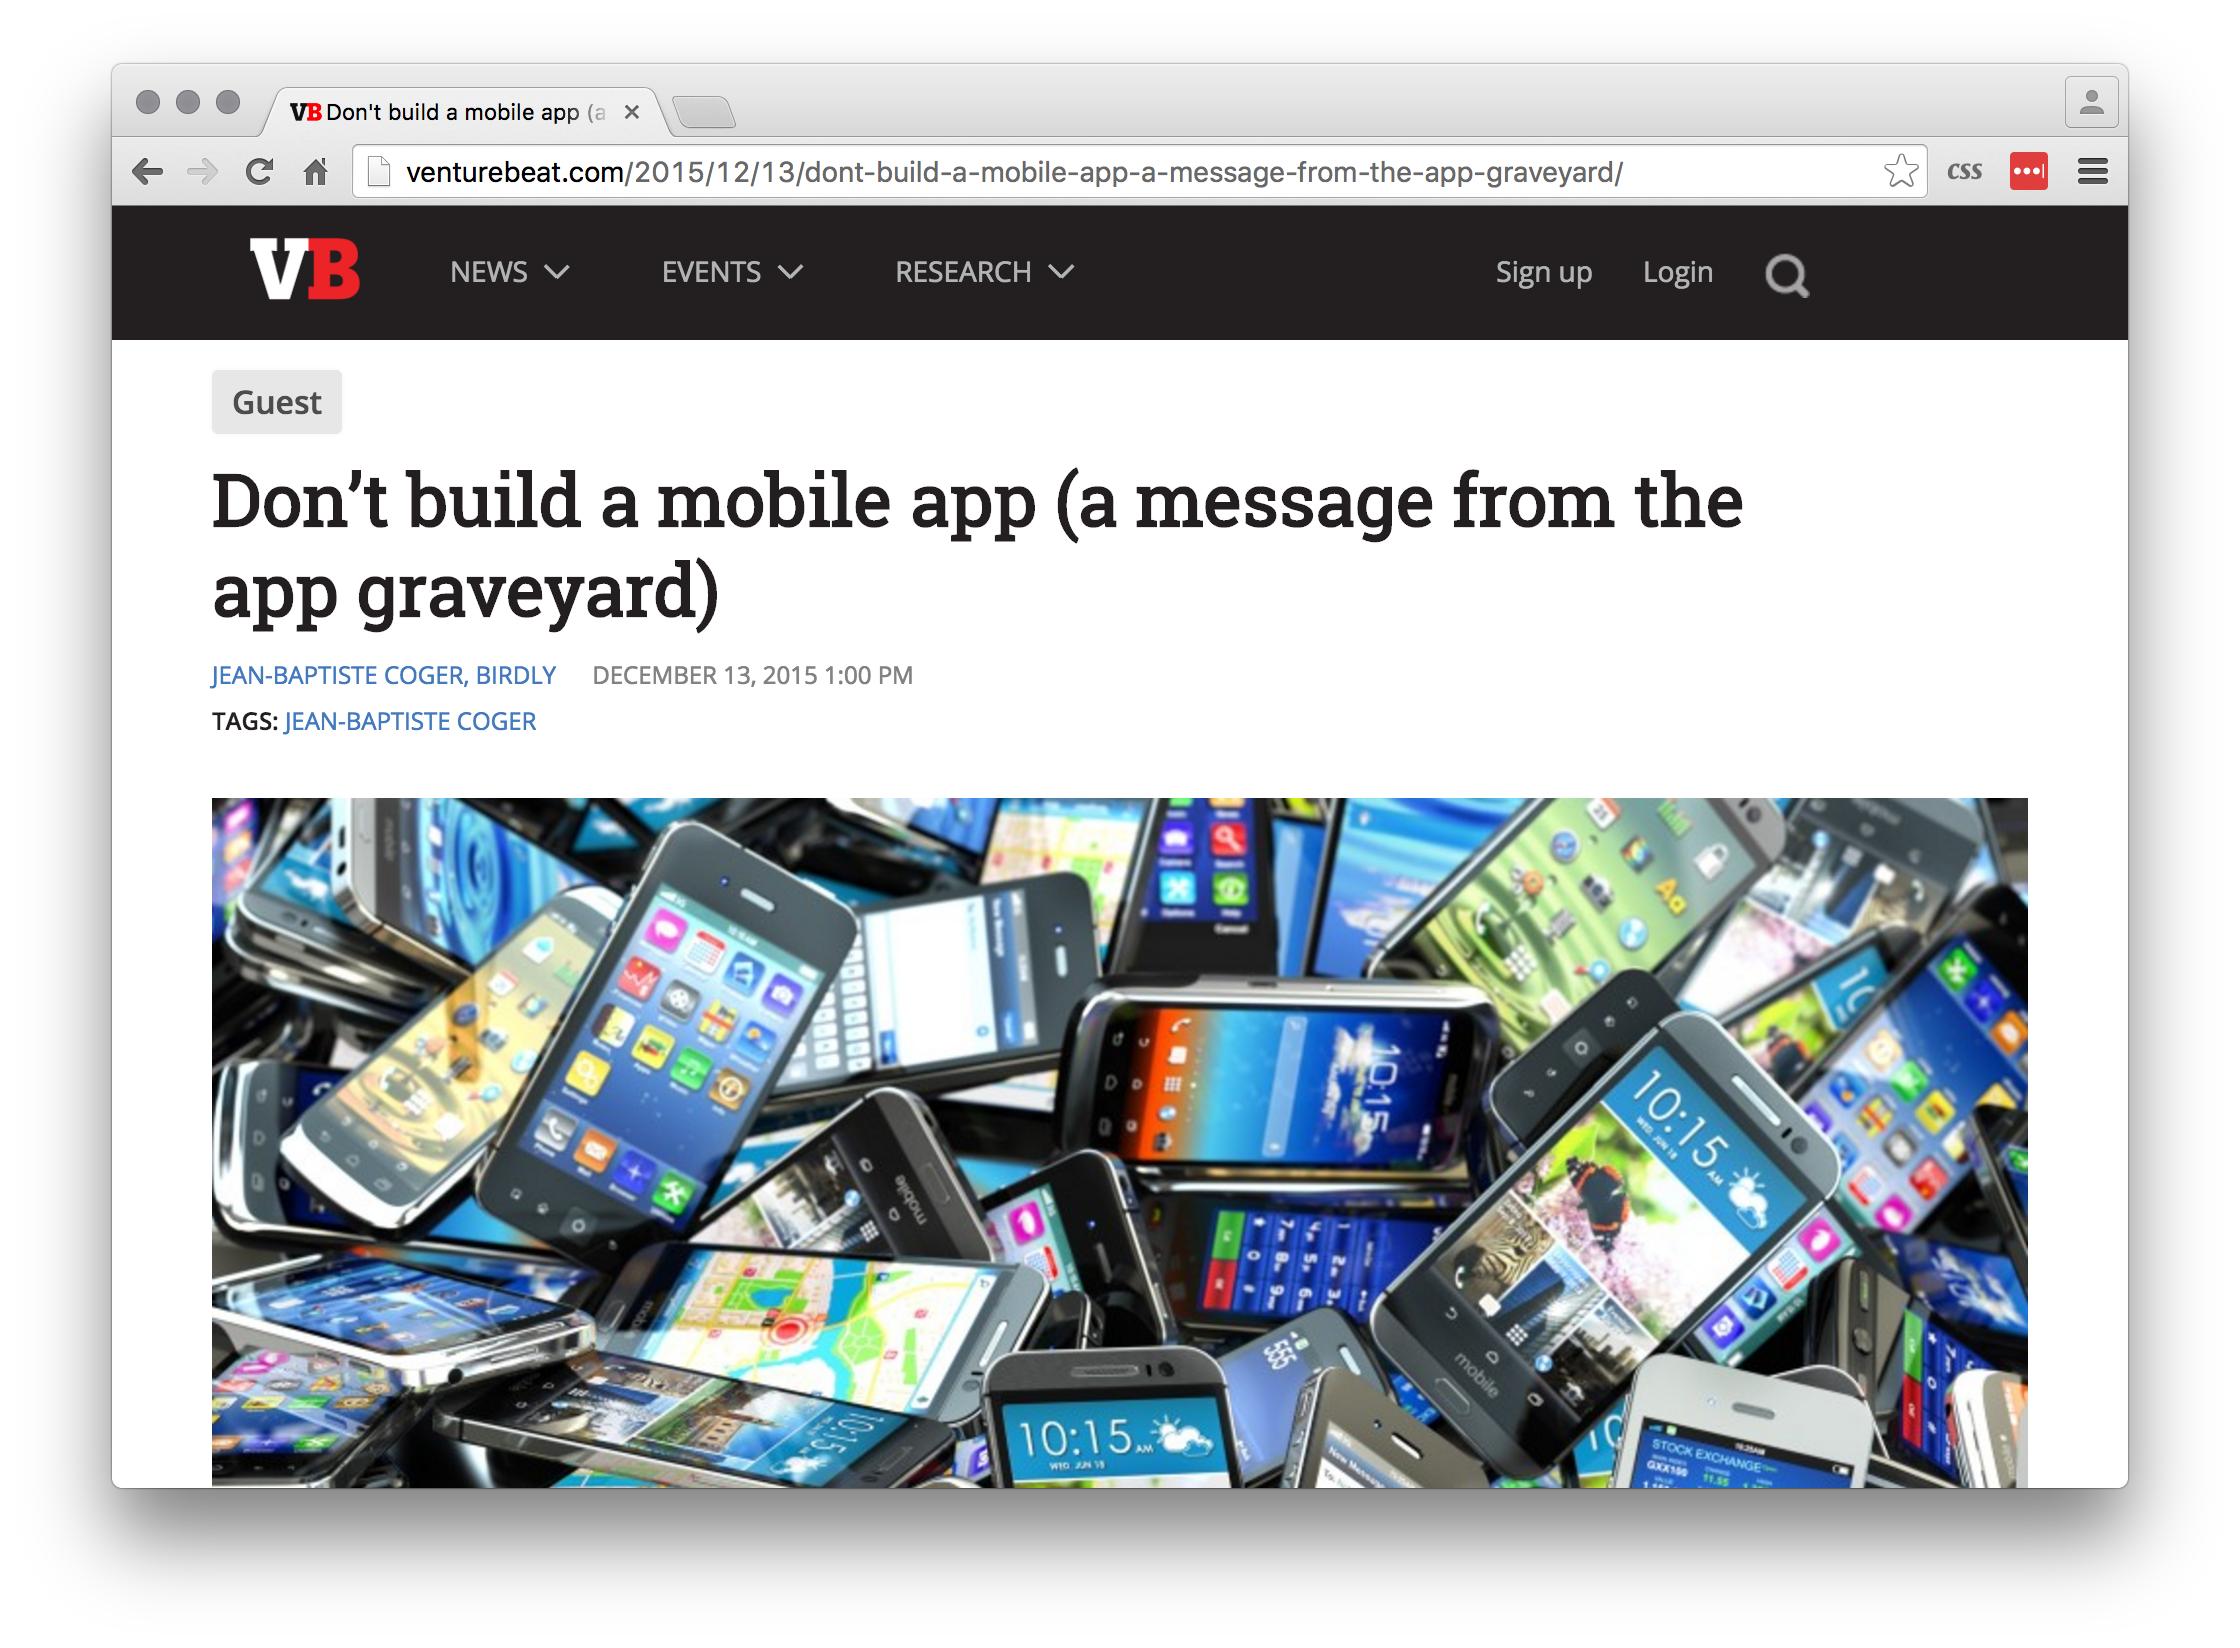
Don’t build a mobile app

dont build a mobile app

“Everybody has an idea for an app but should you invest in it? link highlights some lessons learned by Jean-Baptiste Coger, Chief Product Officer of Paris-based Birdly. A reminder to make sure your target problem is one that your market wants to solve on a mobile.”

Erik


Let’s Encrypt

lets encrypt

“Recently, when the SSL certificates of clients are coming up for expiry (particularly the expensive wildcard SSL certificates) we are using [LetsEncrypt] (https://letsencrypt.org/). This new service allows us to get you unlimited free SSL certificates, it only takes a few hours to setup and will mean you never have to worry about SSL certificates expiring again!”

Matt


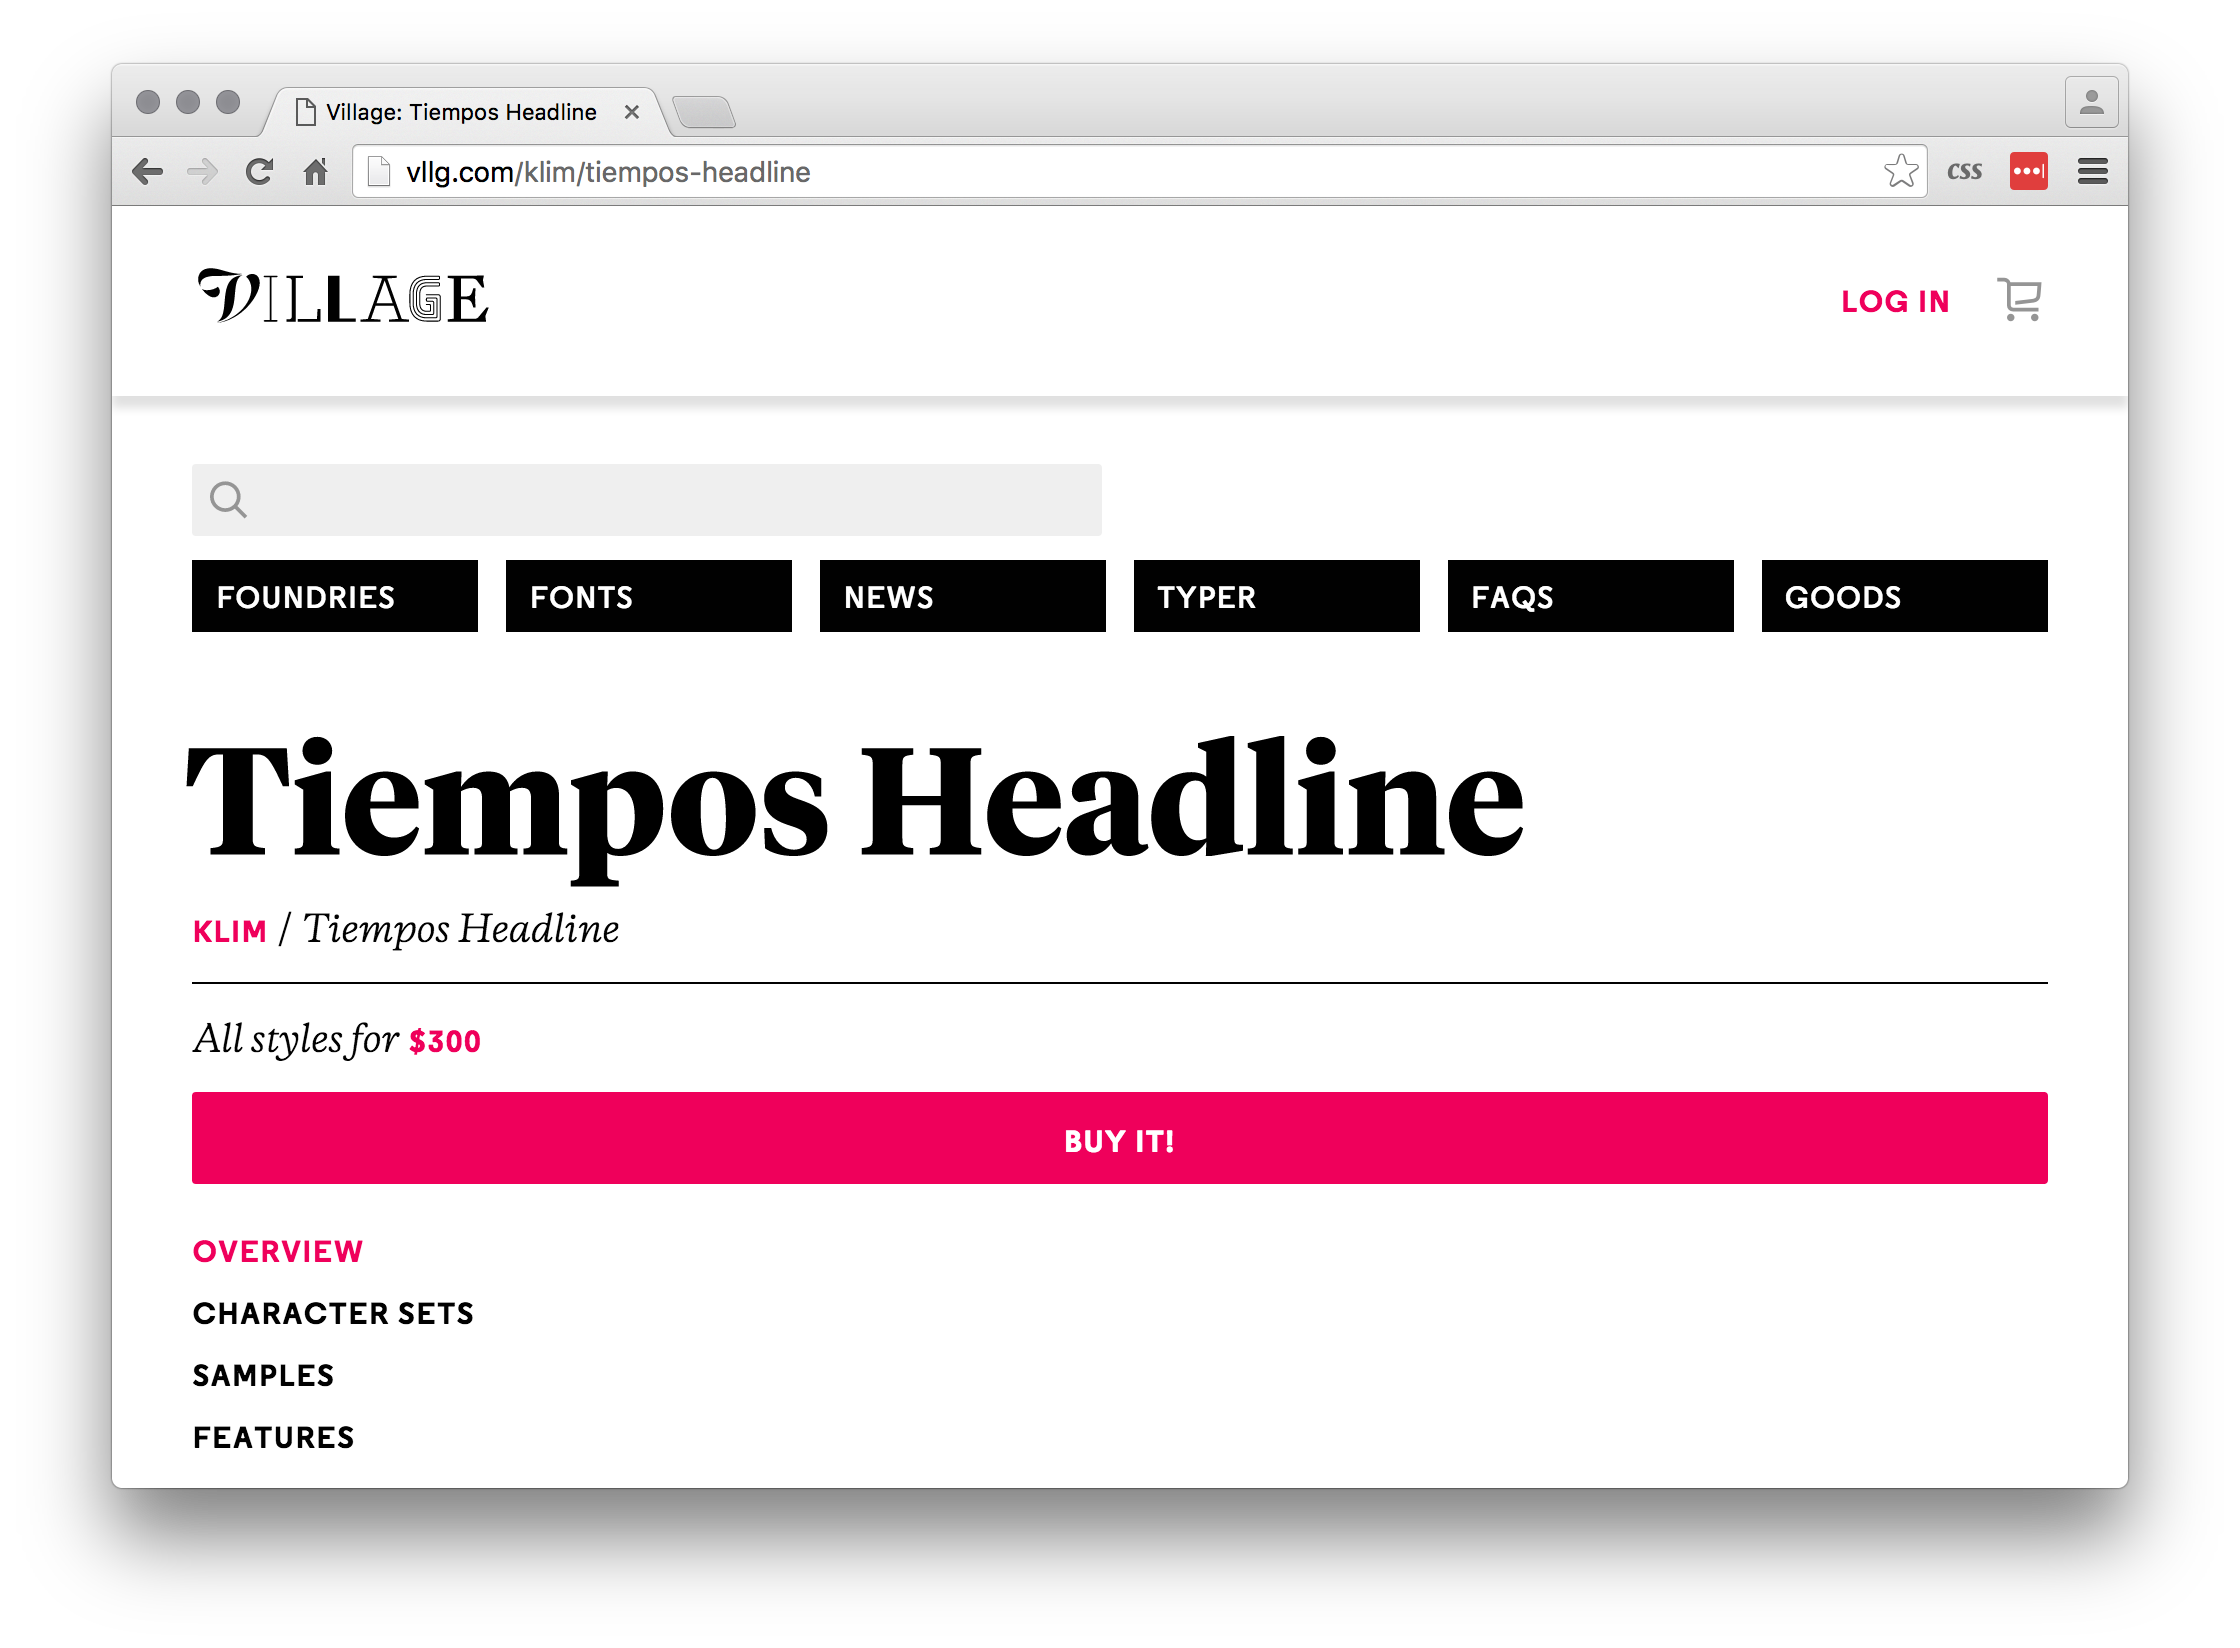
Tiempos Font Family

Tiempos

“Stumbled upon the Tiempos font family and I think it deserves a shout out to anyone who may be interested in using it in their marketing campaign. This font family speaks for itself in terms of personality and boldness. It is important to know that choosing the right font matters. Check out the fonts [here] (http://vllg.com/klim/tiempos-headline), and if you’re interested in using it, please get in touch.”

Felix


Shoeboxed

Shoeboxed

“We are just days away from the end of the financial year and I was shocked to find out not everyone is aware of Shoeboxed. Able to be used for both businesses and individuals, Shoeboxed takes all your old receipts and invoices, scans them and stores them within your account. Not only does this mean I’m not longer sorting through months of receipts to find that half of them have faded beyond recognition I’m also able to search by vendor, payment date and payment type.”

Madeleine


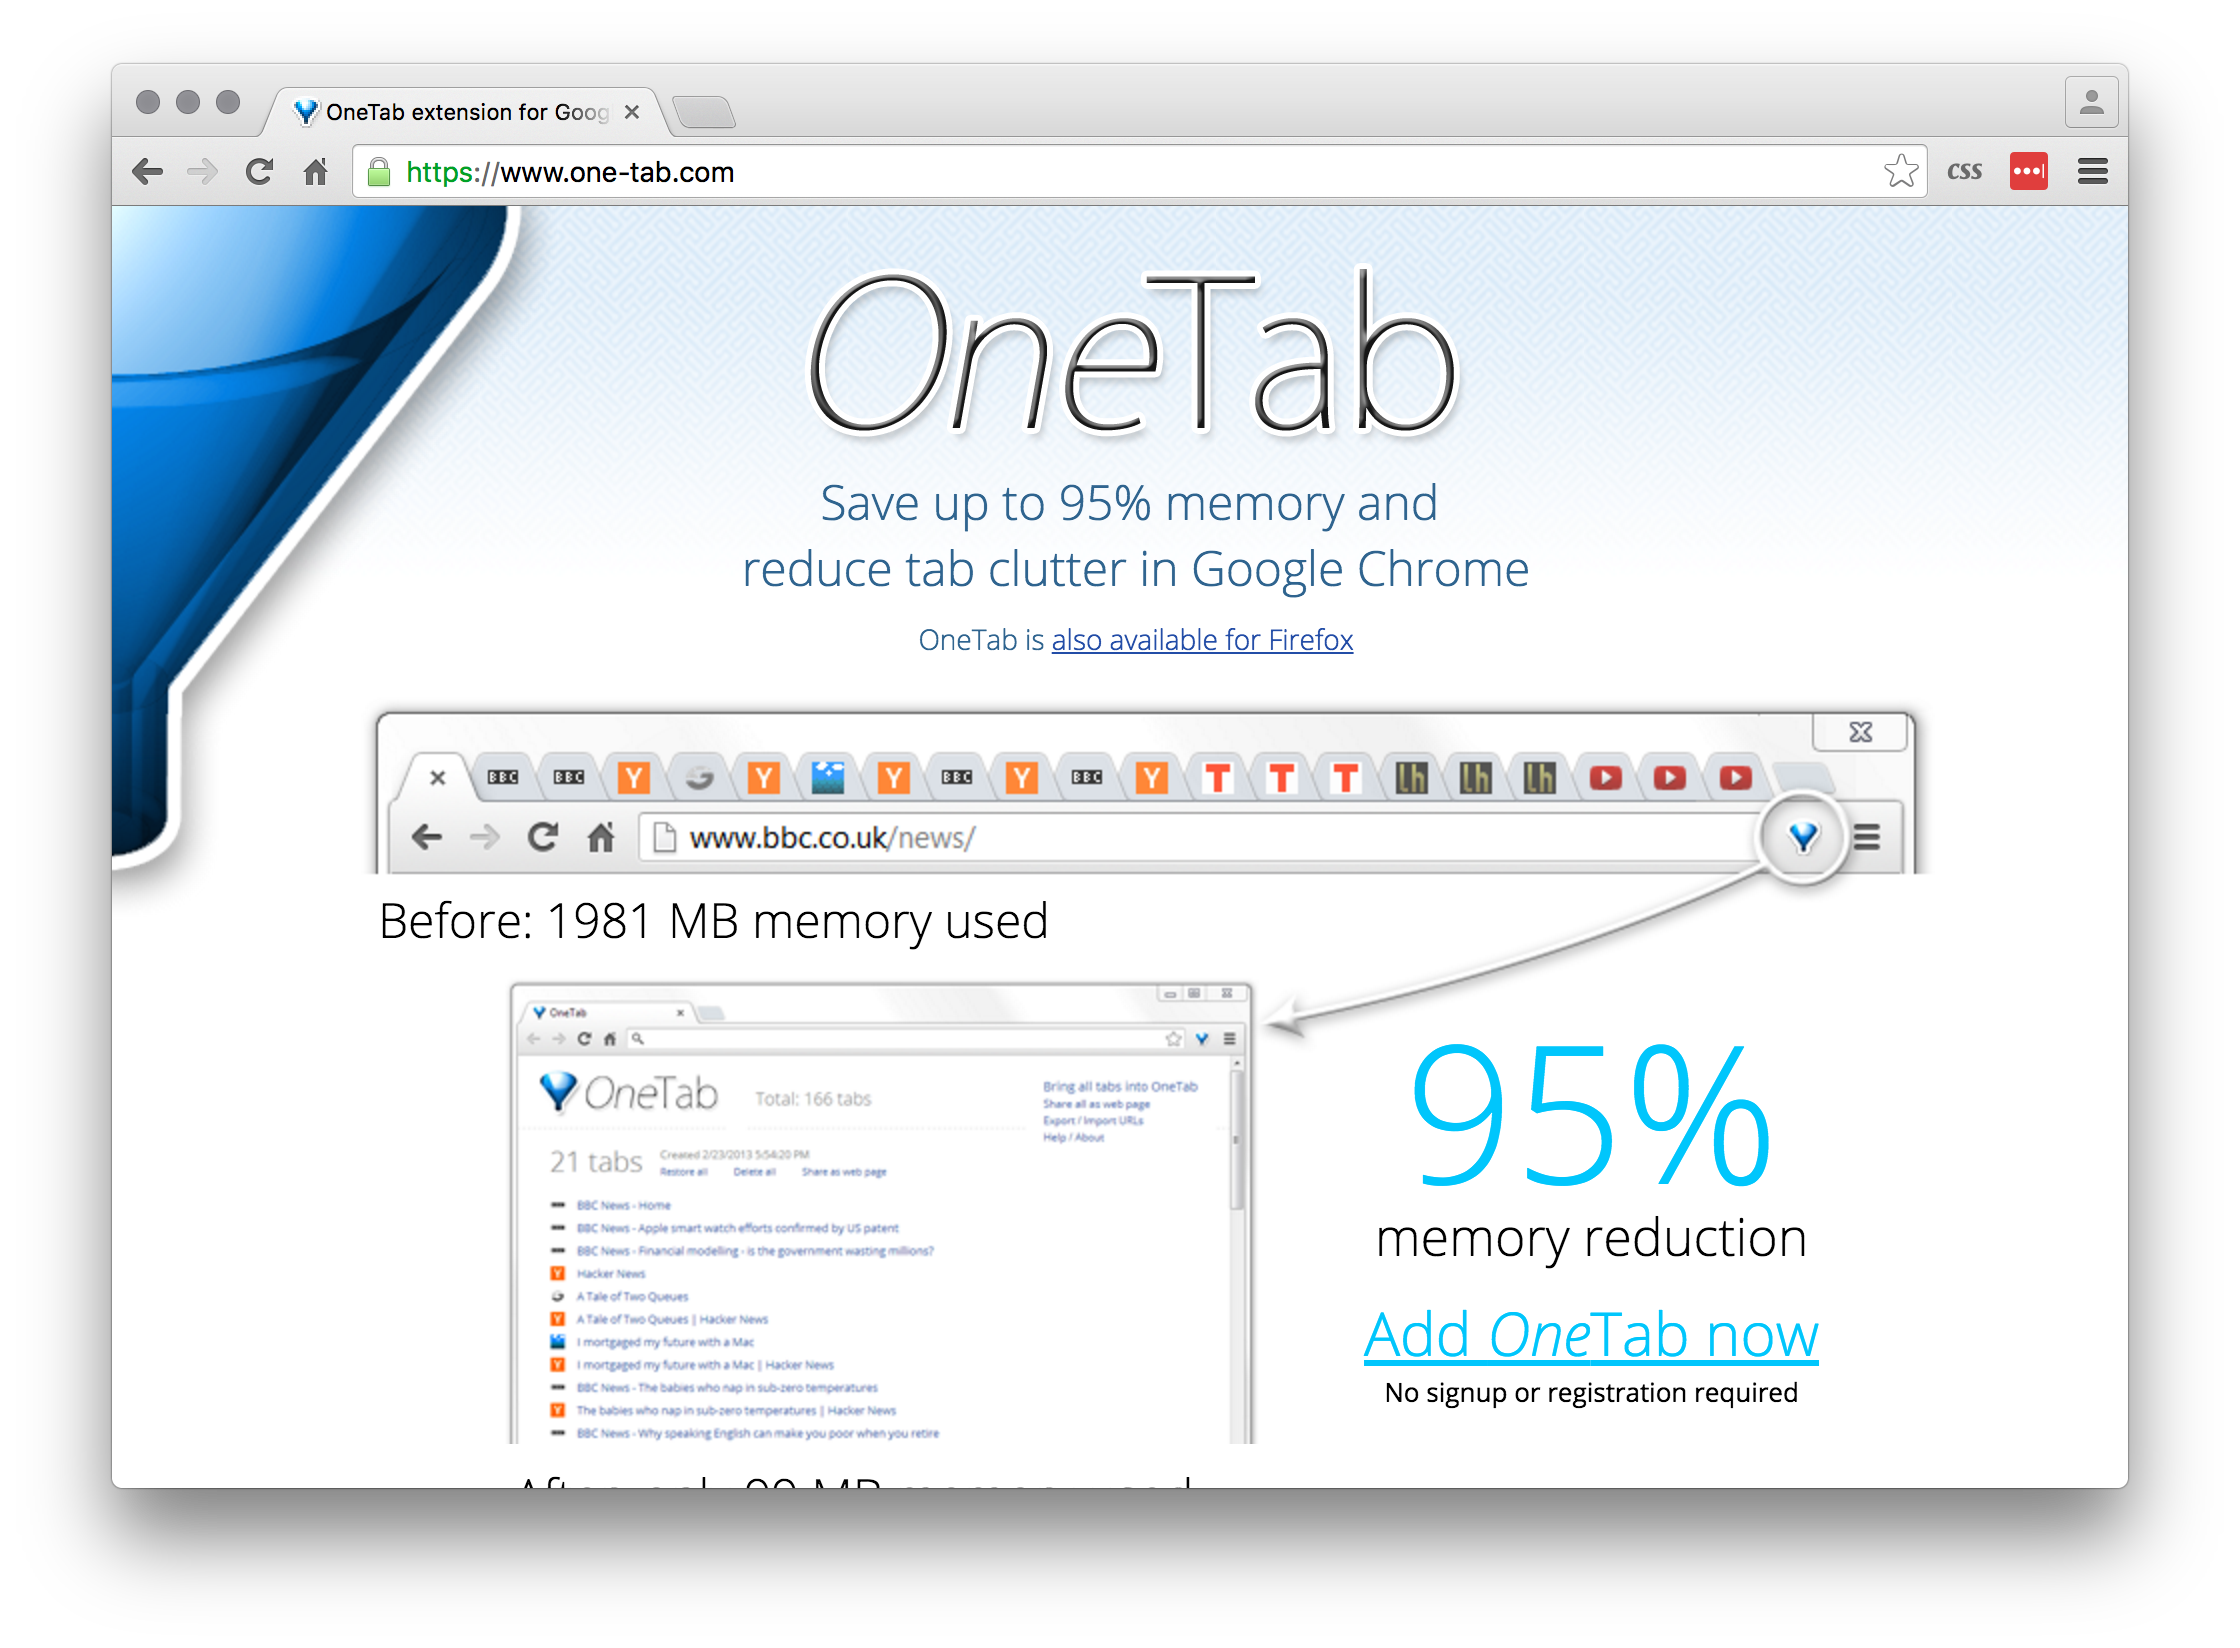
OneTab

One tab

“If you’re like me and end up with hundreds of Chrome/FireFox tabs open, then OneTab can help. It is an extension that converts all your tabs into a list. When I need to access a tab again, I can either restore them individually or all at once.”

Matt


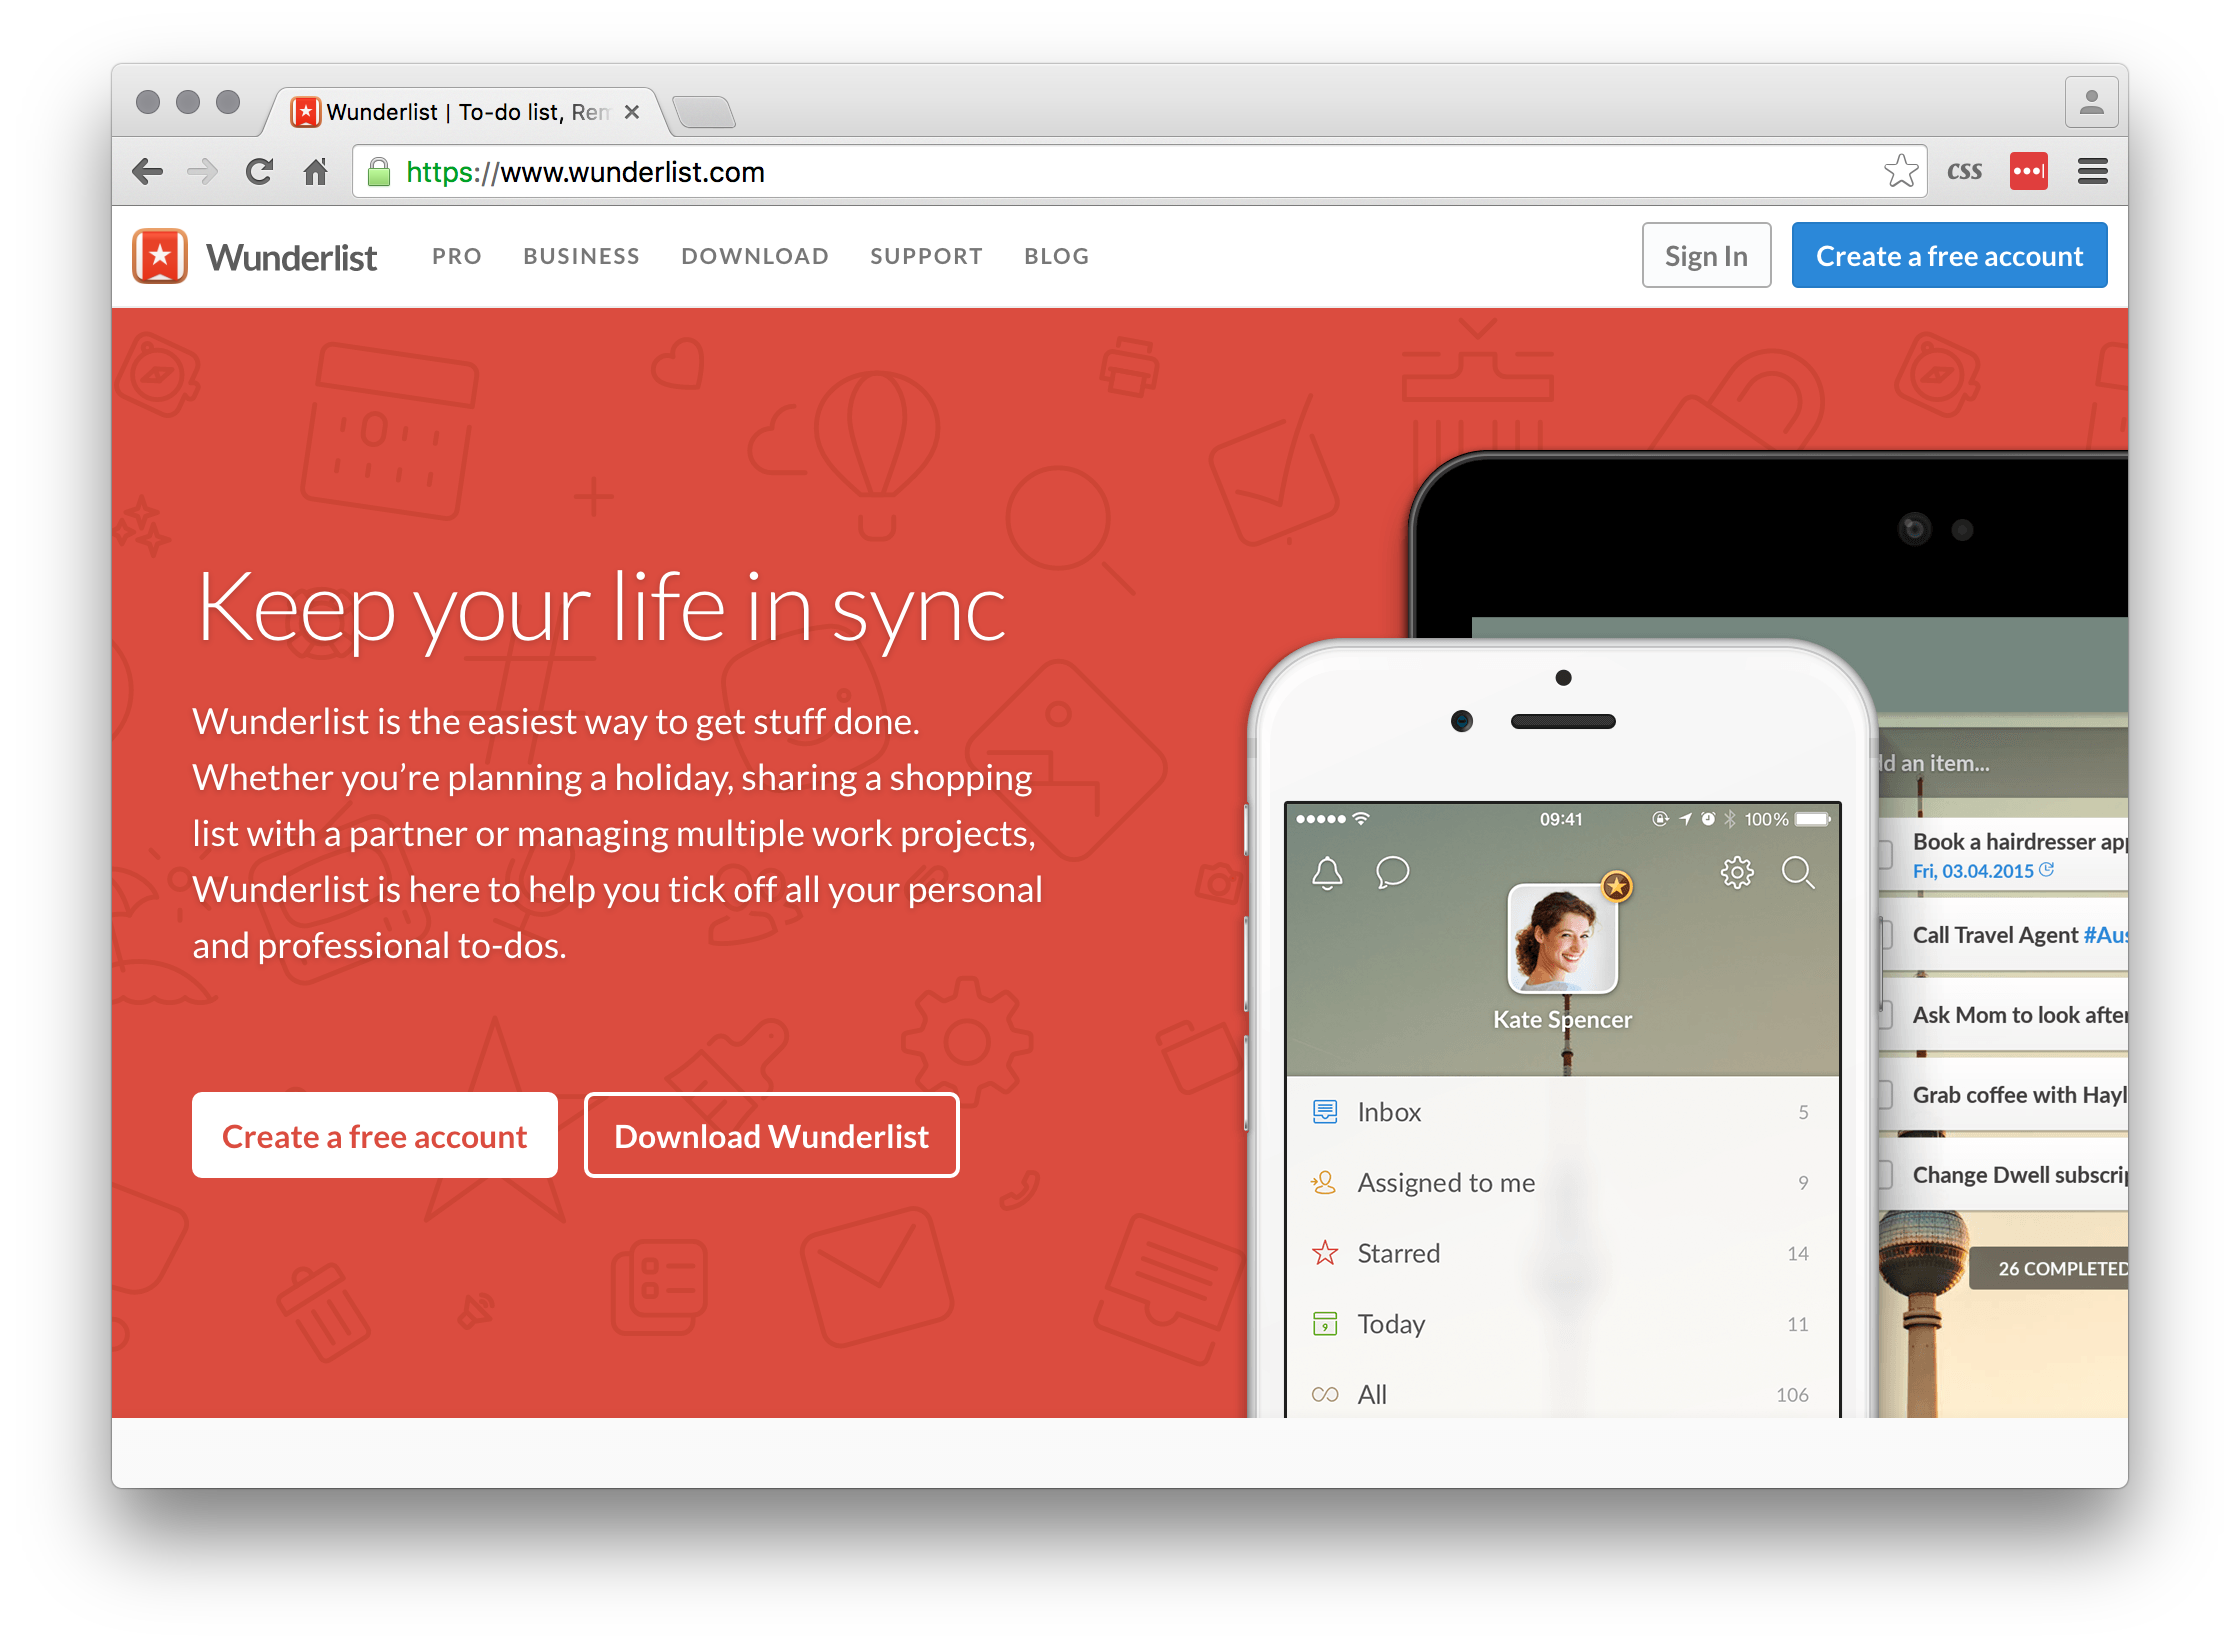
Wunderlist

Wunderlist

“I love a good list, but what I love more is crossing stuff off that list like a boss. I use Wunderlist list to keep track of all the little tasks I need to do in my week for work and home. It works well on both desktop and mobile, and (unlike every other to-do list app I’ve tried) it actually syncs fast.”

Ash


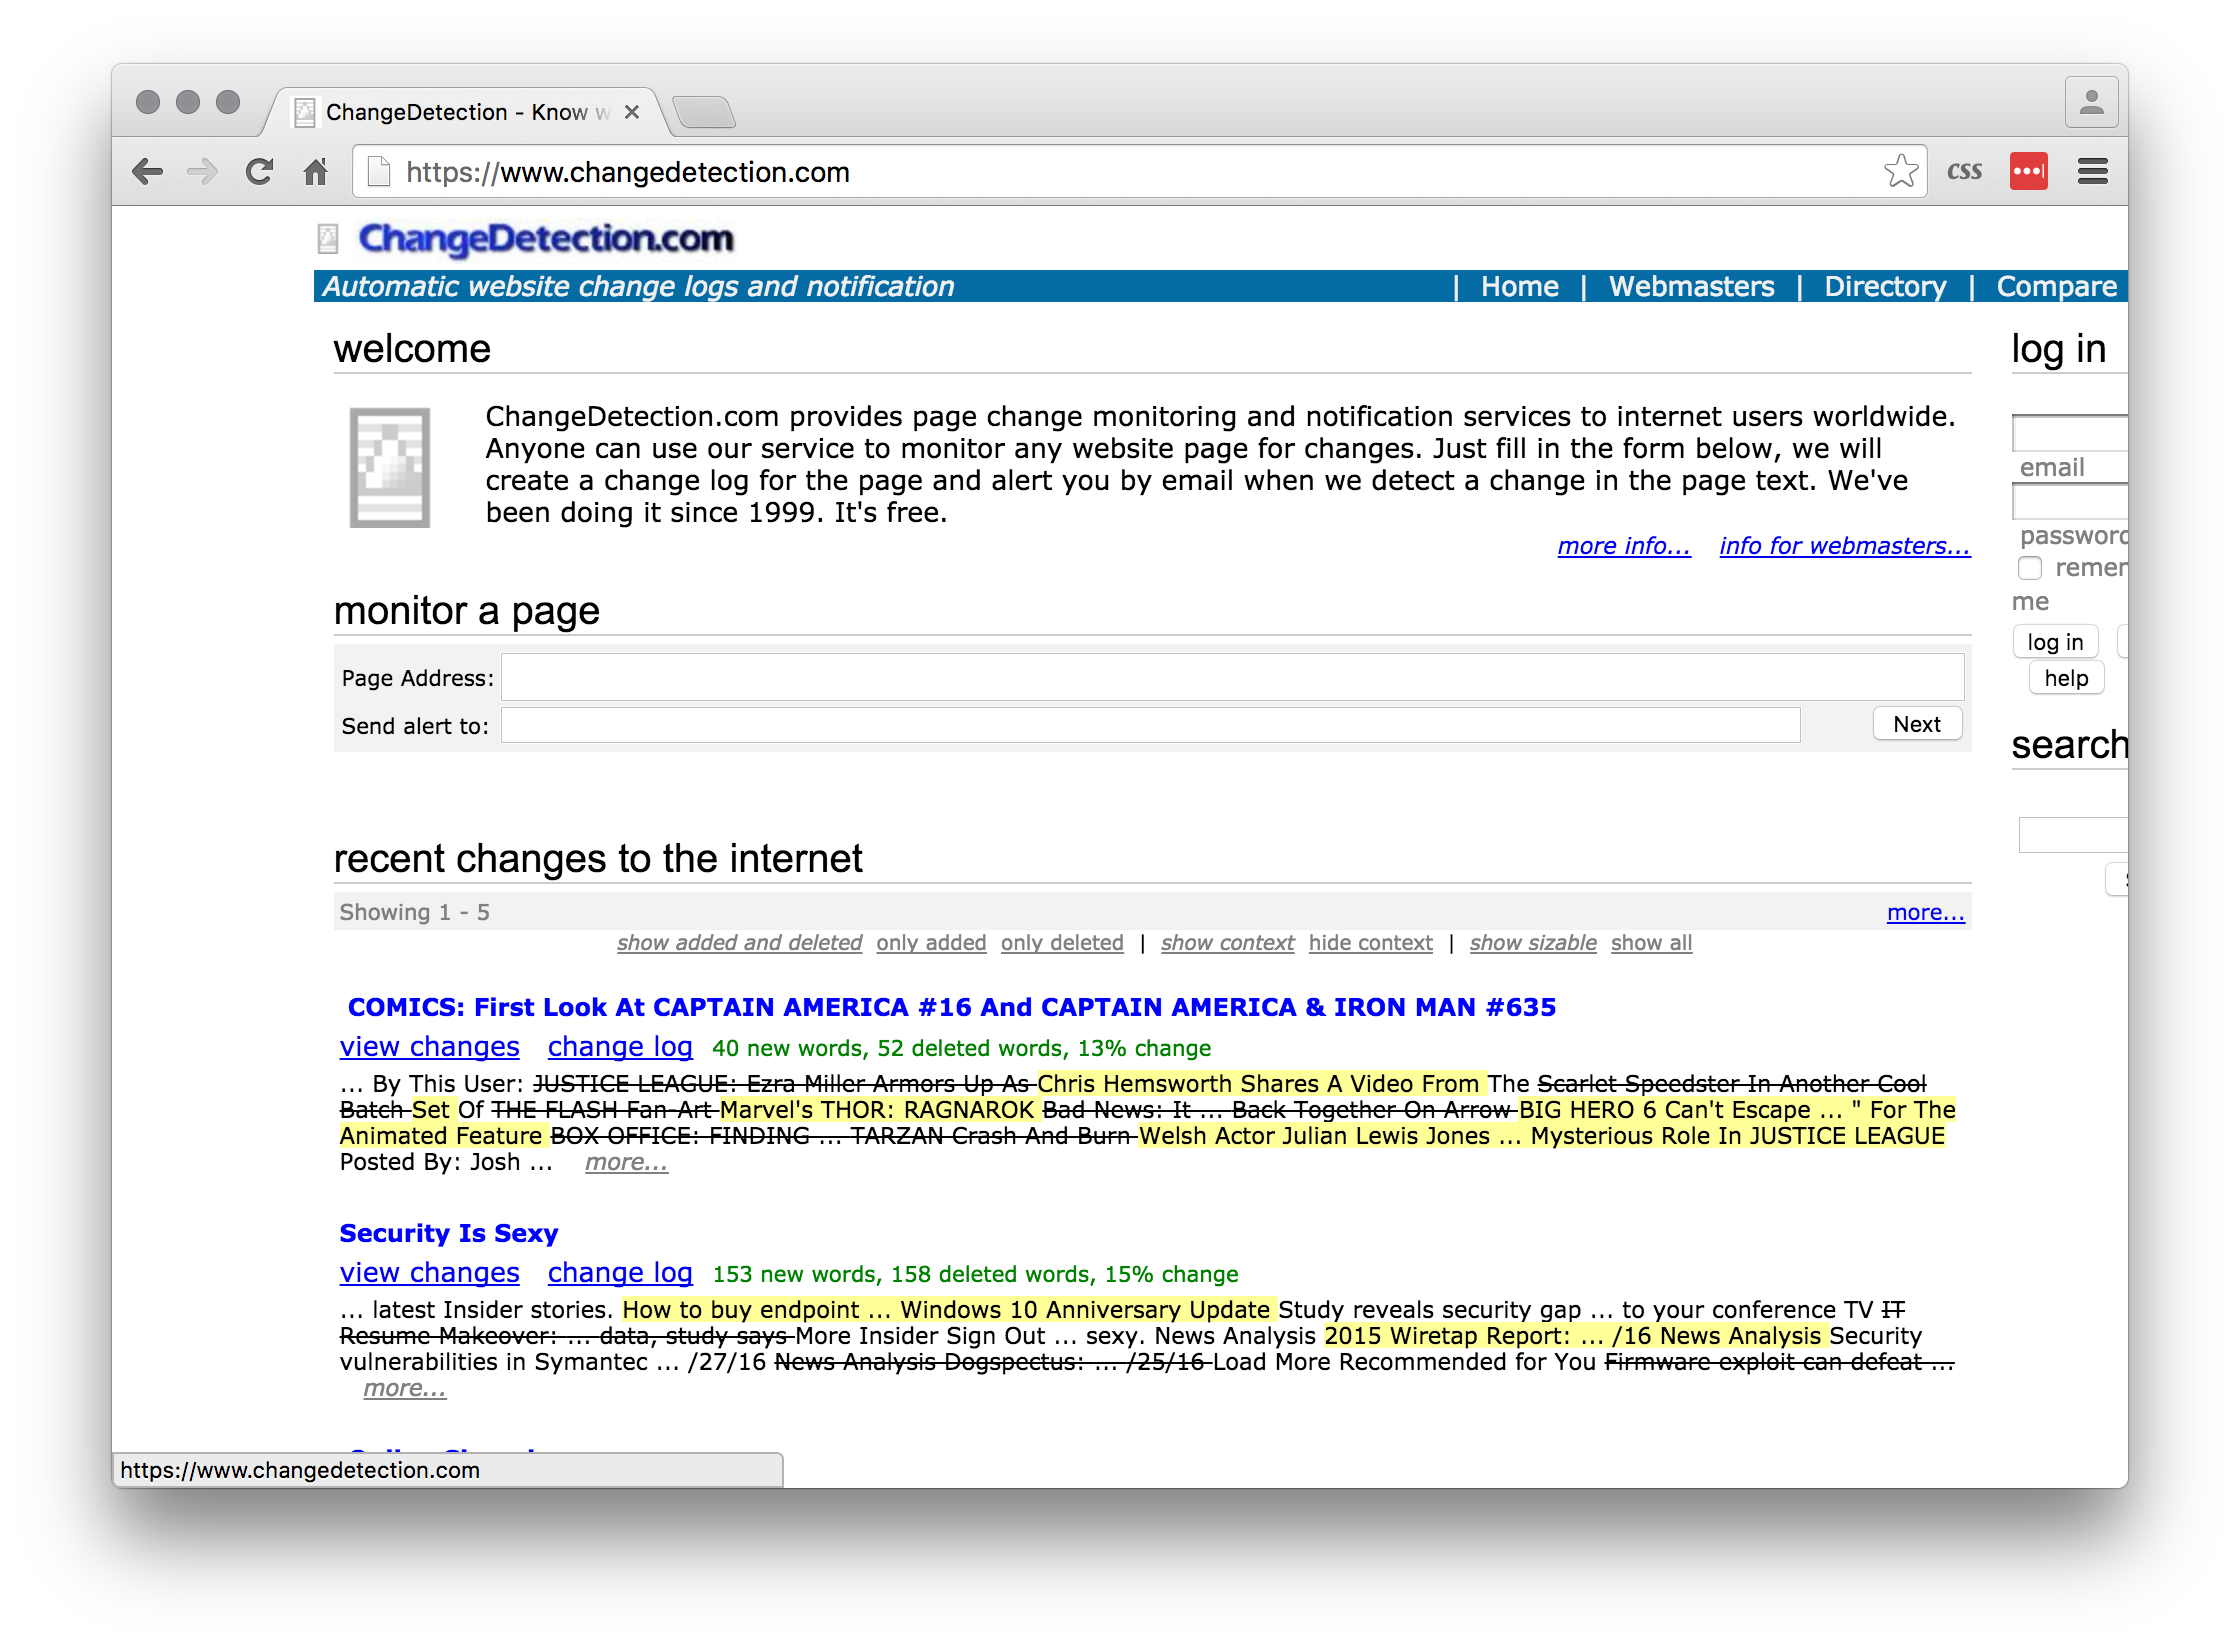
Change Detection

Change detection

“It surprises me how often I want to know if a web page has changed – an event being listed, a price being changed, an article being added etc. Change Detection lets you easily monitor web pages for changes. It will look at the web page everyday and alert you of any changes since the last time it checked.”

Matt


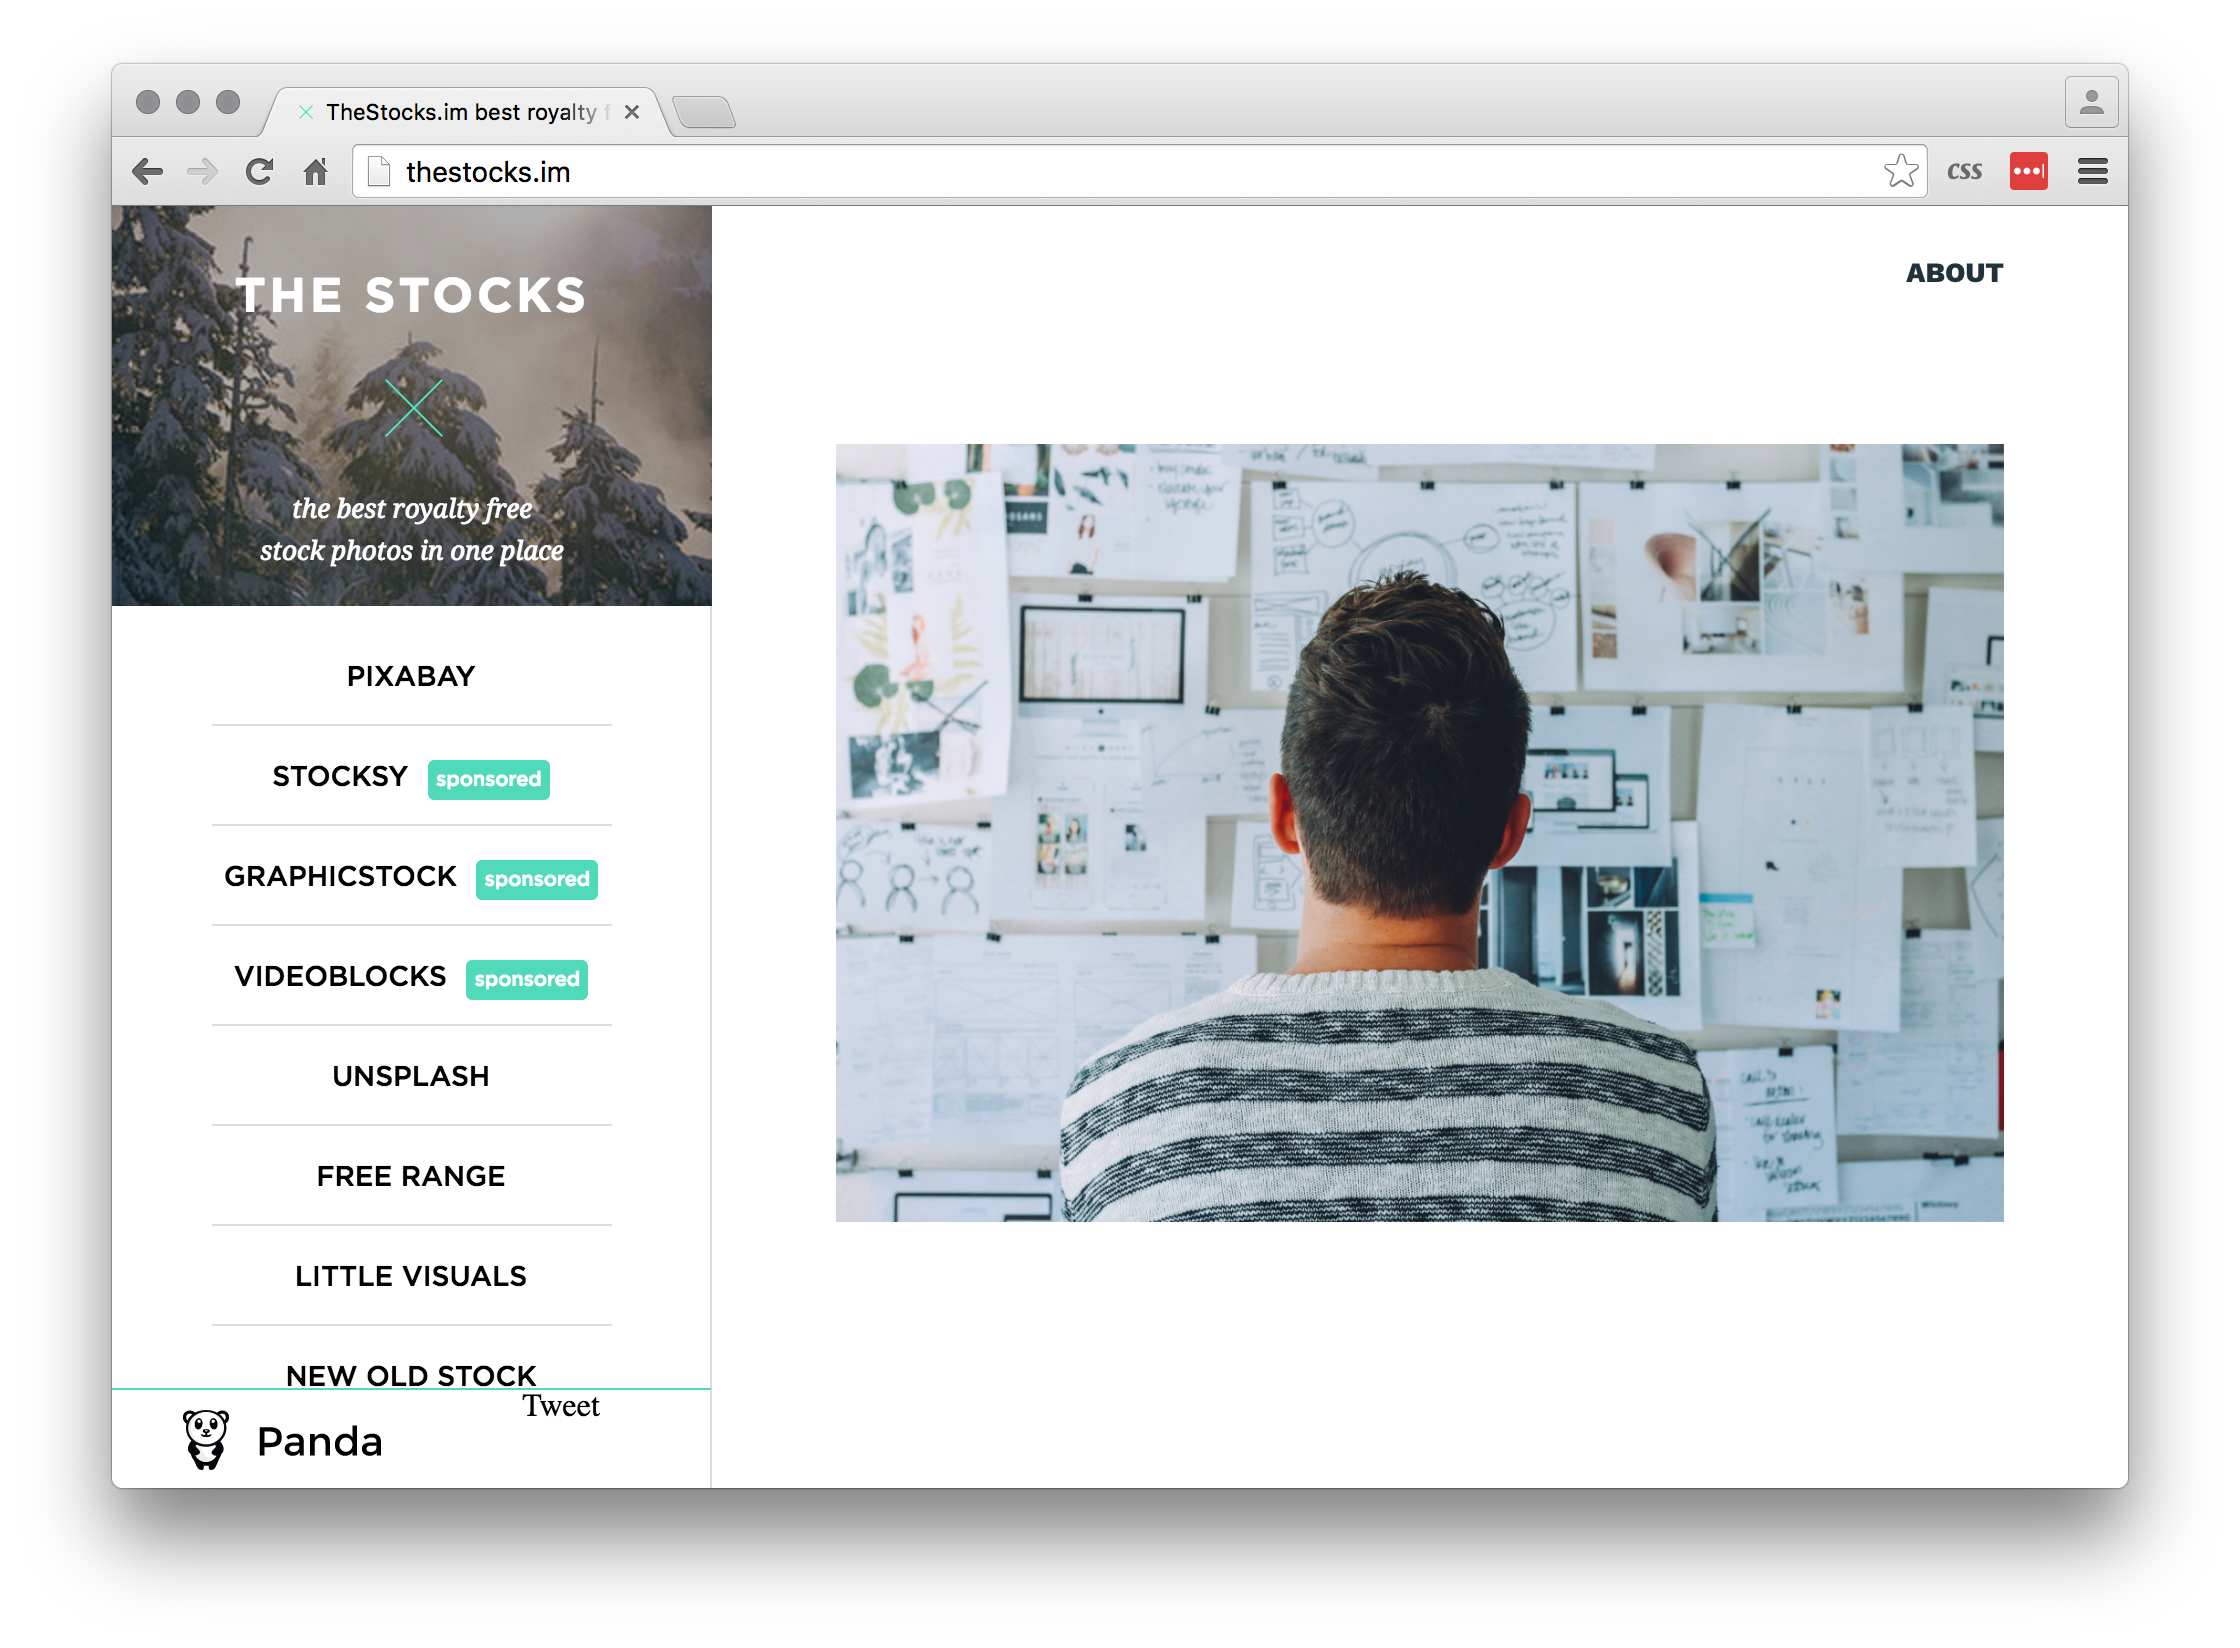
TheStocks

The Stocks

TheStocks collects all the best royalty-free stock photo repositories in one place. Unsplash seems to be everyone’s go-to, Super Famous is my current favourite and notable mention goes to New Old Stock, which offers images with freshly expired copyrights.”

John

With the ever growing number of tech companies in Brisbane it wasn't surprising when we moved in to our new Cordelia St offices in South Brisbane and our upstairs neighbours, Digital 8, were working within the same industry.

While we specialise in software design, Digital8's forte is web design and digital marketing. Recently we teamed up for the UI/UX design piece for one of their clients. Along with Tim (Digital8’s project manager/graphic designer) we scoped, wireframed and designed the user interface of a brand new suite of websites for a national client of Digital8’s.

Project Brief:
We were initially contacted by Digital8’s General Manager Joe McCord to work on the front end of a website for one of Digital8’s overflow clients. The brief was simple: work in conjunction with Tim to respond to the clients spec by creating a scope, building a wireframe for the front end and assisting with UI and UX.

What We Did:
Most obviously we began the process with conversations and a brainstorm about the project, we broke down the spec and designed a wireframe that was put forward to the client and approved immediately. We then worked with the guidance of Tim and Joe to review the wireframe, then built out to create a more detailed mockup that would give both the client and the developers a broader understanding of the direction of the project. Again the clients were happy and our part in the project was delivered.

The Outcome:
The part of the project that we worked on was a success both from a technical and professional viewpoint. Working collaboratively with our neighbours was a great way to get to know their specialisations up close – allowing us to keep an eye out for more opportunities to work together in the future!

When handling state changes or object and logic condition changes, one of the most useful gems is aasm. However, after many years I find that it’s often under-utilised and even misused.

It’s really easy to grab the aasm gem and begin implementing the ActiveRecord methodology. This implementation is effective if the state and its dependencies are only models and providing you are not creating circular dependencies.

To get your head in the game here’s a quick example we came across that required us to implement something new:

  • We have a booking for a room when the user first begins the booking process we give the booking the state: draft.
  • As the user progresses, the date is confirmed and the state is changed to pre-reserved.
  • Once the payment has been received the state should be changed to booked.
  • Finally, when the booking has been finalised, the status will be fulfilled.

Of course, we might have more transitions between those cases, but for this scenario, four will suffice.

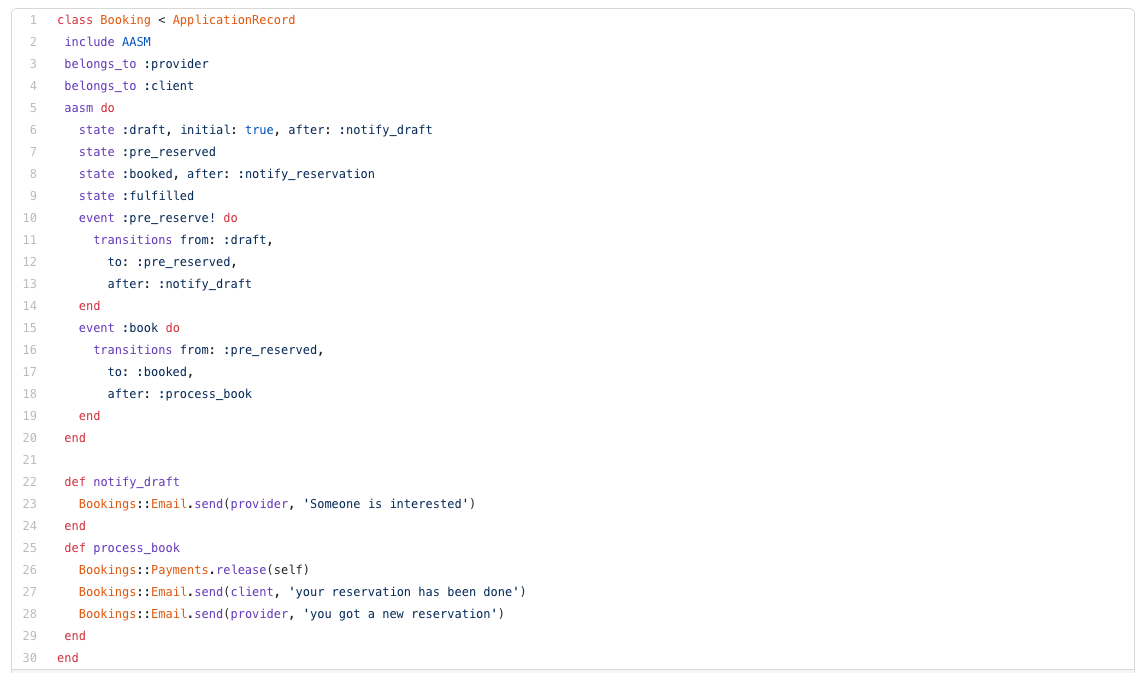
If we go with the normal Active Record style, our code might look something like this:

Even when the previous approach is quick and simpler. There are a few cons:

  • Booking model is prone to becoming a ‘god object’.
  • Single responsibility principle is being contrevend. After changing states we are adding business logic. Booking is responsible for persistency, changing states (we can consider this as persistency if we don’t want to be strict), sending emails, and releasing payments.
  • Testing will become harder, with more items to stub.
  • Additionally, the dependency direction is wrong, entities now be aware of other services.

A simpler approach would be using the state machine as a service, like this:

To achieve this implementation we only need to be aware of 2 sections. Everything else is your own code:

And we need to make our changes persistent:

Considering this approach we will get two huge benefits:

  • Booking model is only responsible for data persistency
  • This StateService is our actual State machine and the dependency direction is now as it should be. The service no longer requires an understanding of other services and the booking model won’t have awareness of emails or payments.